
Before your learners begin exploring your school, give them a welcoming, well‑branded experience. This guide walks you through customizing your logo and favicon, applying a visual theme, and editing pages, so your school looks as good as it runs.
Step 1: Upload your logo & Favicon
Logos and favicons are often the first visuals learners see, whether on your site, in emails, or browser tabs.
Go to Website → Website Settings → Logo & Favicon.
What to do:
- Logo: Upload your logo (recommended size: 250 × 50 px) or create it using AI. It appears in your site header, email watermarks, and social shares. The top-bar logo must be added separately in your Website builder.
- Favicon: Upload a small image (PNG preferred) that appears in browser tabs and bookmarks. You can also create it from scratch using the AI button.
Save your changes before moving on.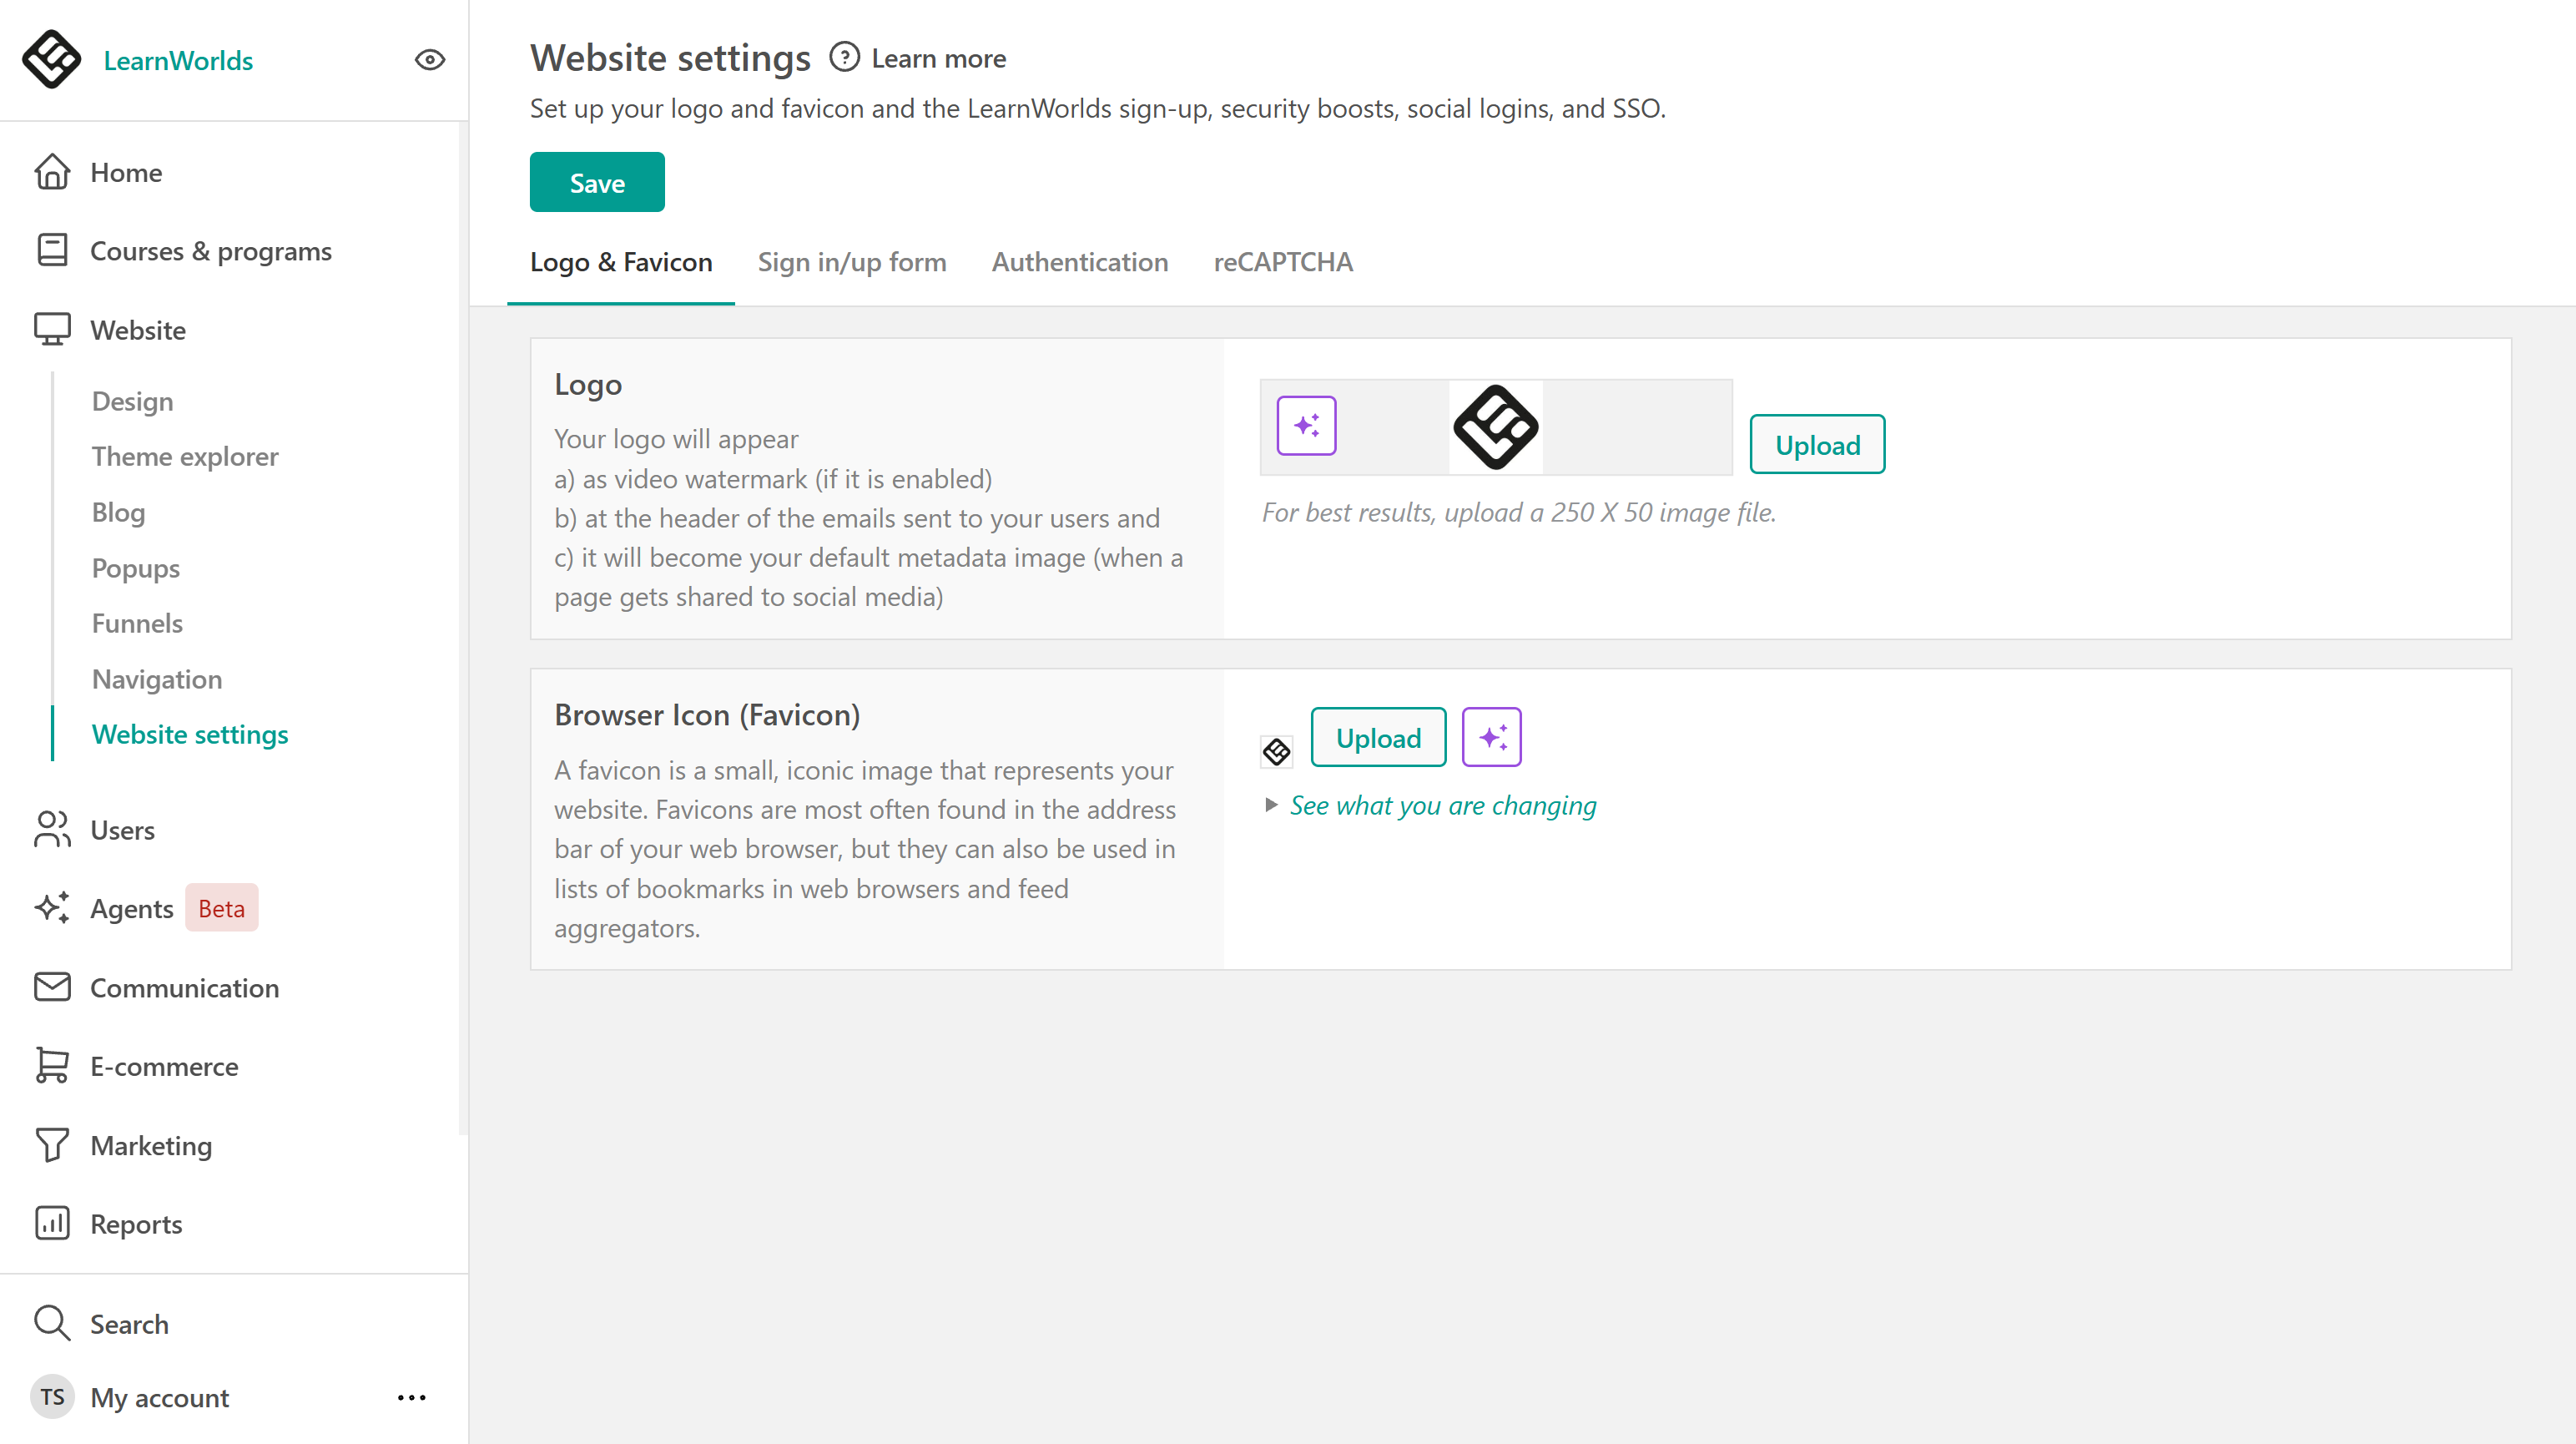

Advanced Tip: Schools on Learning Center plans and above can also fully white-label email notifications and learner dashboards, removing the LearnWorlds branding entirely for a seamless experience. Combine this with a custom domain (available in all paid plans) for a completely branded academy.
How to edit your logo & Favicon »
Step 2: Choose your visual theme with theme explorer
Use Theme Explorer to customize your school's colors, fonts, buttons, and overall appearance. These settings help you maintain a consistent design across your website without editing each page individually.
Go to Website → Theme Explorer.
What to do:
- Pick from preset themes that adjust colors, fonts, and layout instantly.
- Or dive deeper: customize Colors, Typography, Buttons & Inputs, and Section Layouts to align with your brand identity.
- If you don’t like changes, use “Discard & Exit” to revert.
These settings create a cohesive look across pages, and no manual editing is required.

Theme Explorer - How to customize the appearance of your school's website »
Step 3: Edit your website pages
Once you've configured your website's appearance, customize your pages to introduce your school, showcase your courses, and guide visitors toward enrollment.
Go to Website → Design → Edit Website.
What you can do:
- Access your default “Home” page, or click on Manage pages to switch pages or add a new one.
- Add sections (e.g., hero banners, CTAs, media & text, pricing tables, and more) using “Add Section”.
- Customize sections with widgets, layout settings, backgrounds (color, image, video), text, and effects like parallax or overlays.
Let your homepage tell your story, highlight learning options, or drive sign-ups with clear and engaging sections.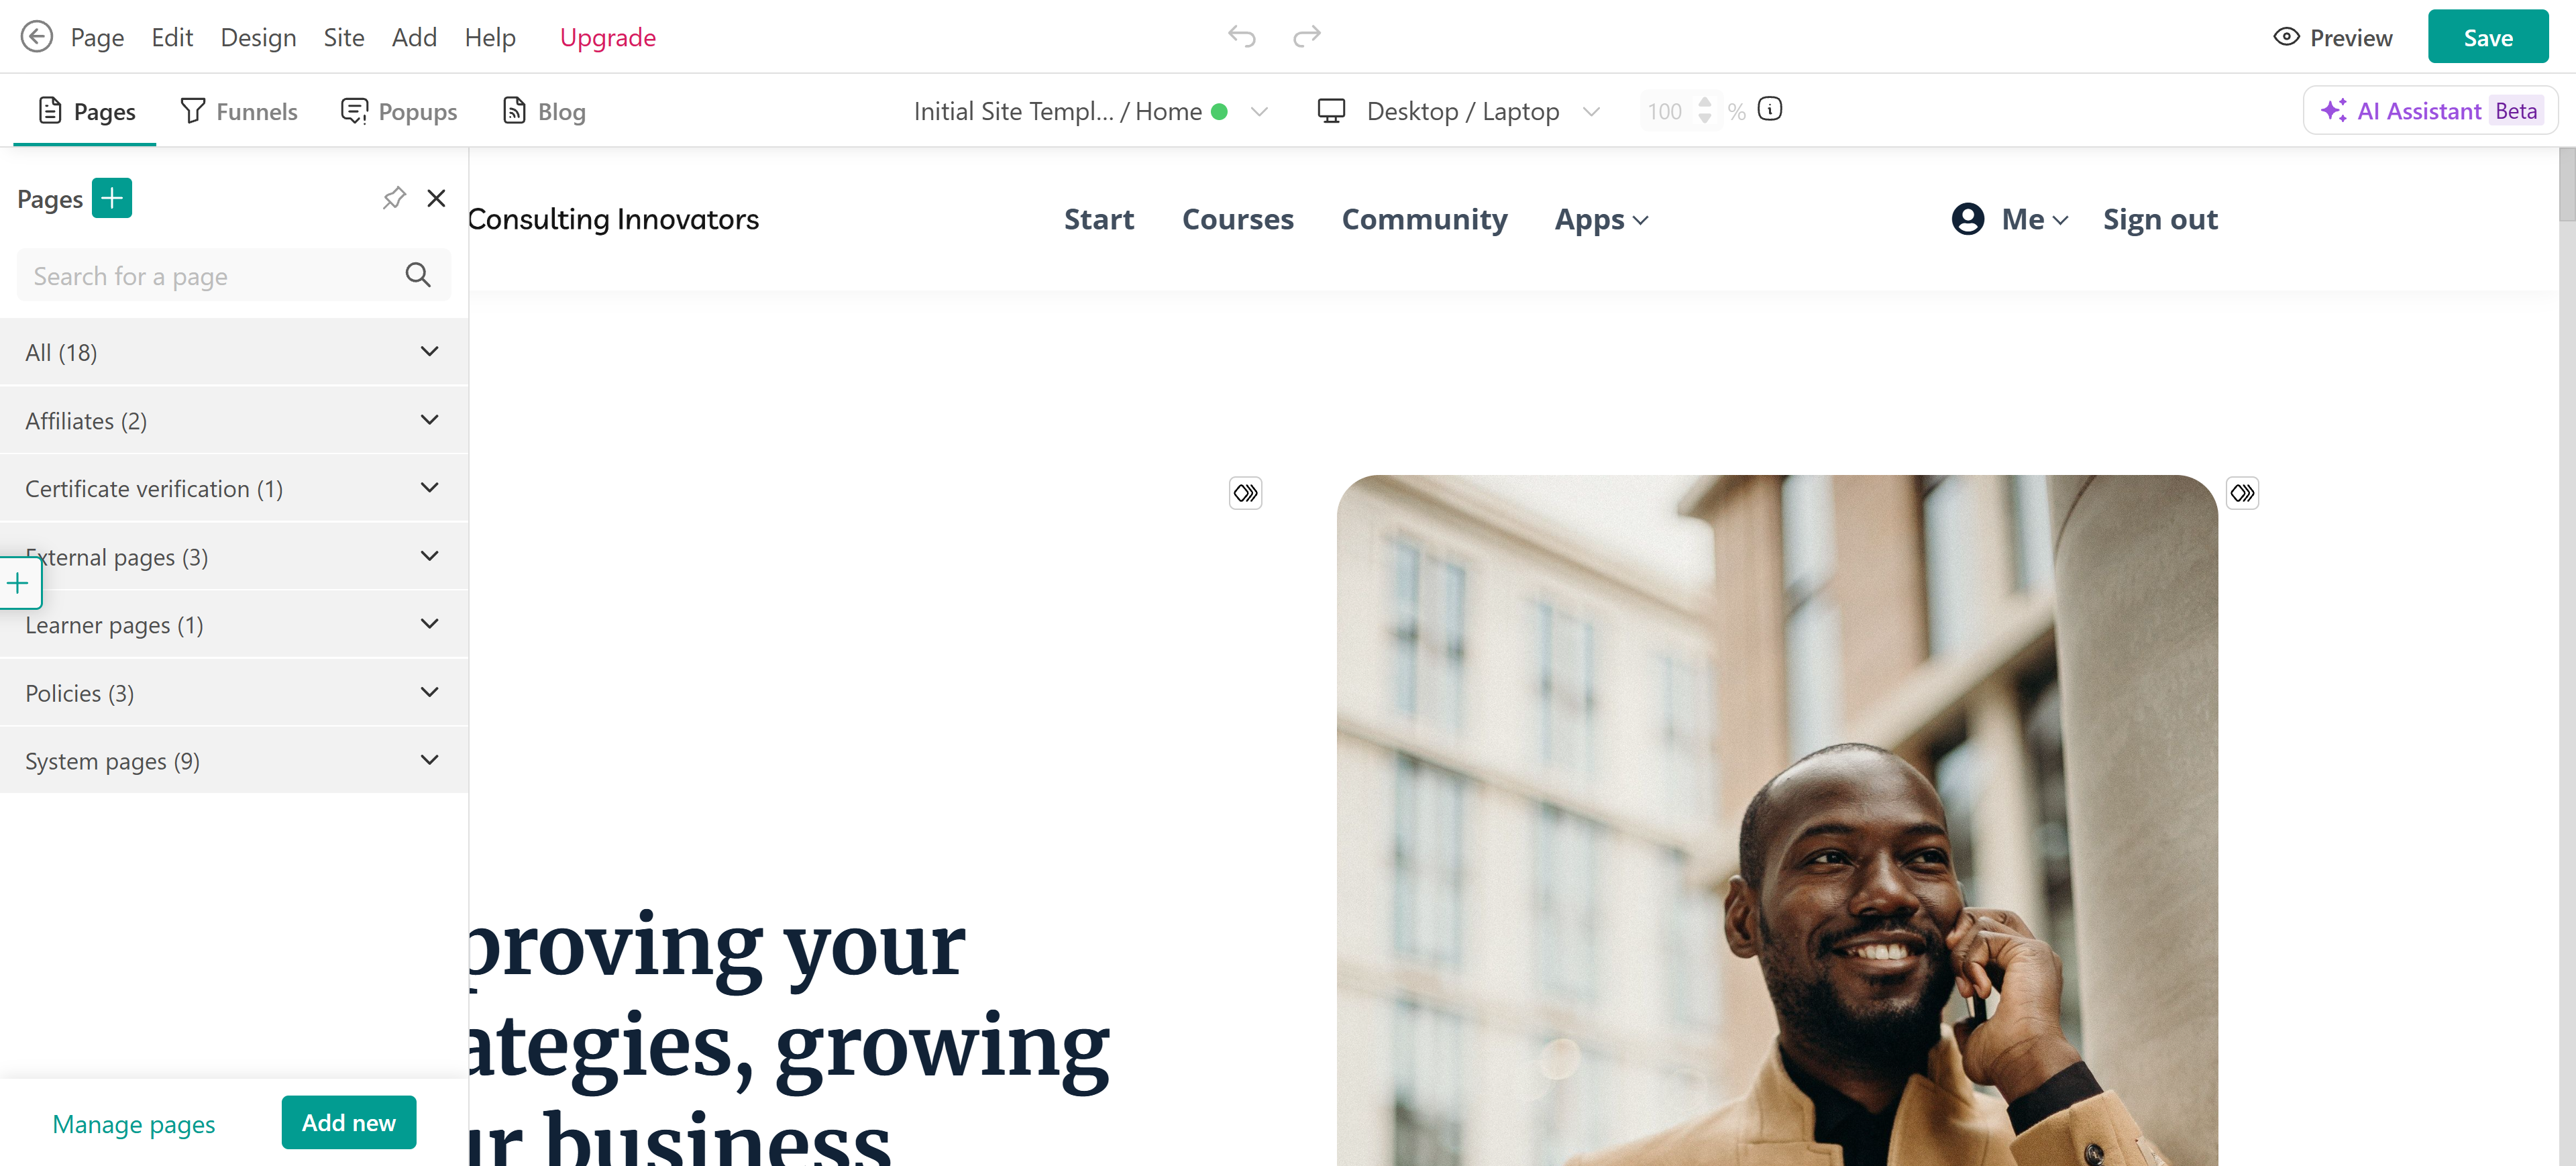
When you’re just starting out, you only need to make a few quick edits to your homepage to give your school a professional look:
Update your header: Add your school name or tagline so visitors immediately know what your academy is about.
Replace the hero image: Add a picture that represents your topic or brand.
Add a call-to-action button: For example, “Browse Courses” or “Sign Up.” This gives learners a clear next step.
Edit your topbar: The topbar is the menu that appears at the very top of every page in your school. It helps learners move around your site. Start simple by including just the essentials, such as Home and Courses. You can always add more links later (like About or Contact).
Add a Hello Bar: Add an announcement bar at the top of your website to highlight important messages, promotions, or upcoming events. You can use it to direct visitors to a specific course, special offer, or registration page.
Create a Learner's sidebar: Customize the navigation bar learners see when accessing your school to help them navigate their learning experience and access important features.
These quick edits are enough to give your homepage a polished look.
When you’re ready to grow, you can:
Add an About page to share your story.
Create a Contact page so learners can reach you.
Build landing pages for promotions or lead capture.
Advanced tips:
Use advanced navigation menus to create different after-login experiences for learners (e.g., B2B clients see a tailored homepage).
Set dynamic pages by combining user tags with page section visibility, which is powerful for corporate training or customer academies.
Speed up website creation with AI-powered tools. Use AI to generate new pages or ask the built-in AI assistant to create content, customize designs, and apply multiple changes at once using natural language.
How to manage all pages (Pages Manager) »
General Overview: Creating Pages/ Page Structure »
How to create and enhance your pages using AI (Artificial Intelligence) »
How to add, delete and move Sections in your pages »
Create and customize a hello bar »
Create and customize the learner's sidebar »
Quick recap checklist
| Setup Tasks | |
|---|---|
| Add your school logo and favicon | ✔️ |
| Configure your topbar and Learner Bar | ✔️ |
| Choose and apply a theme (or customized colors/fonts) | ✔️ |
| Create/Edit Pages (initial setup) | ✔️ |
| Set up your Hello Bar (optional) | ✔️ |
What’s next?
Great work! You’ve styled the look and feel of your LearnWorlds school.
Up next: Quick start guide 4: Create your first course
You’ll build your first learning experience with activities, access settings, and course structure.