
Creating an online course allows you to share knowledge with a global audience, making education accessible and flexible. LearnWorlds simplifies this process, helping you effortlessly create, organize, and customize your course content.
In this article, we will learn how to create an online course in LearnWorlds and set up the course outline.
Create a course
You can create a new course in LearnWorlds using one of the following methods:
1. From the main admin dashboard, click on Create course.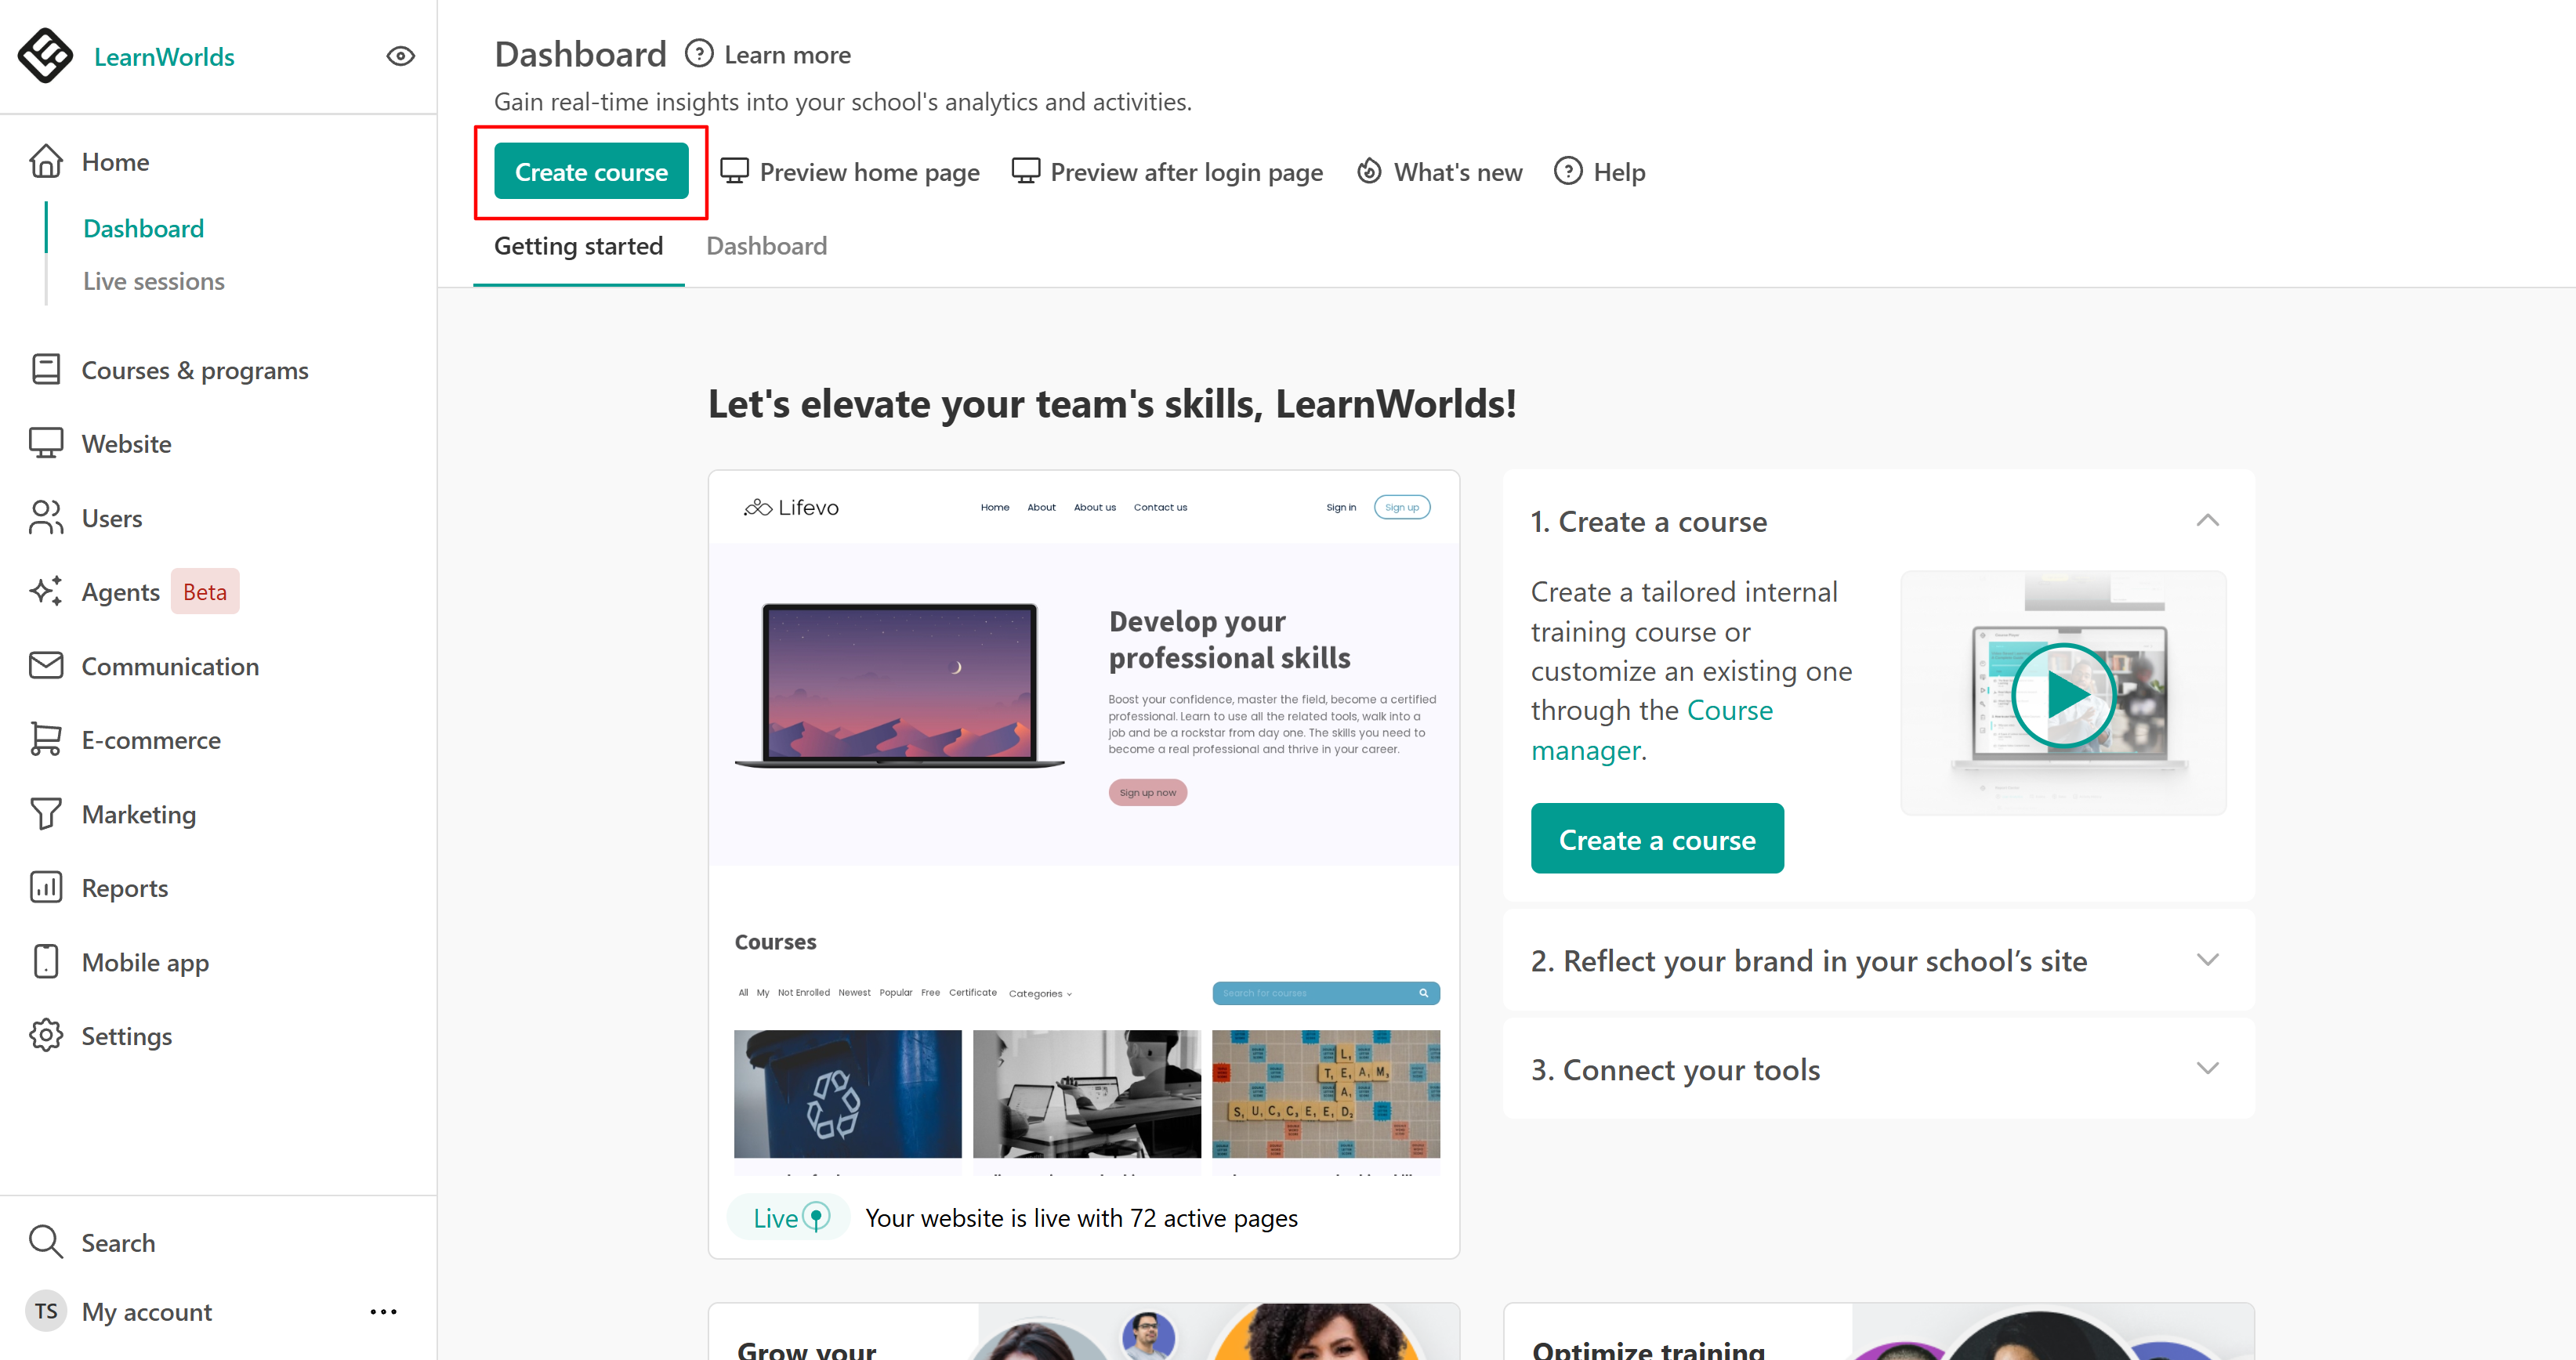
2. Navigate to Courses & Programs → Courses and click Create course.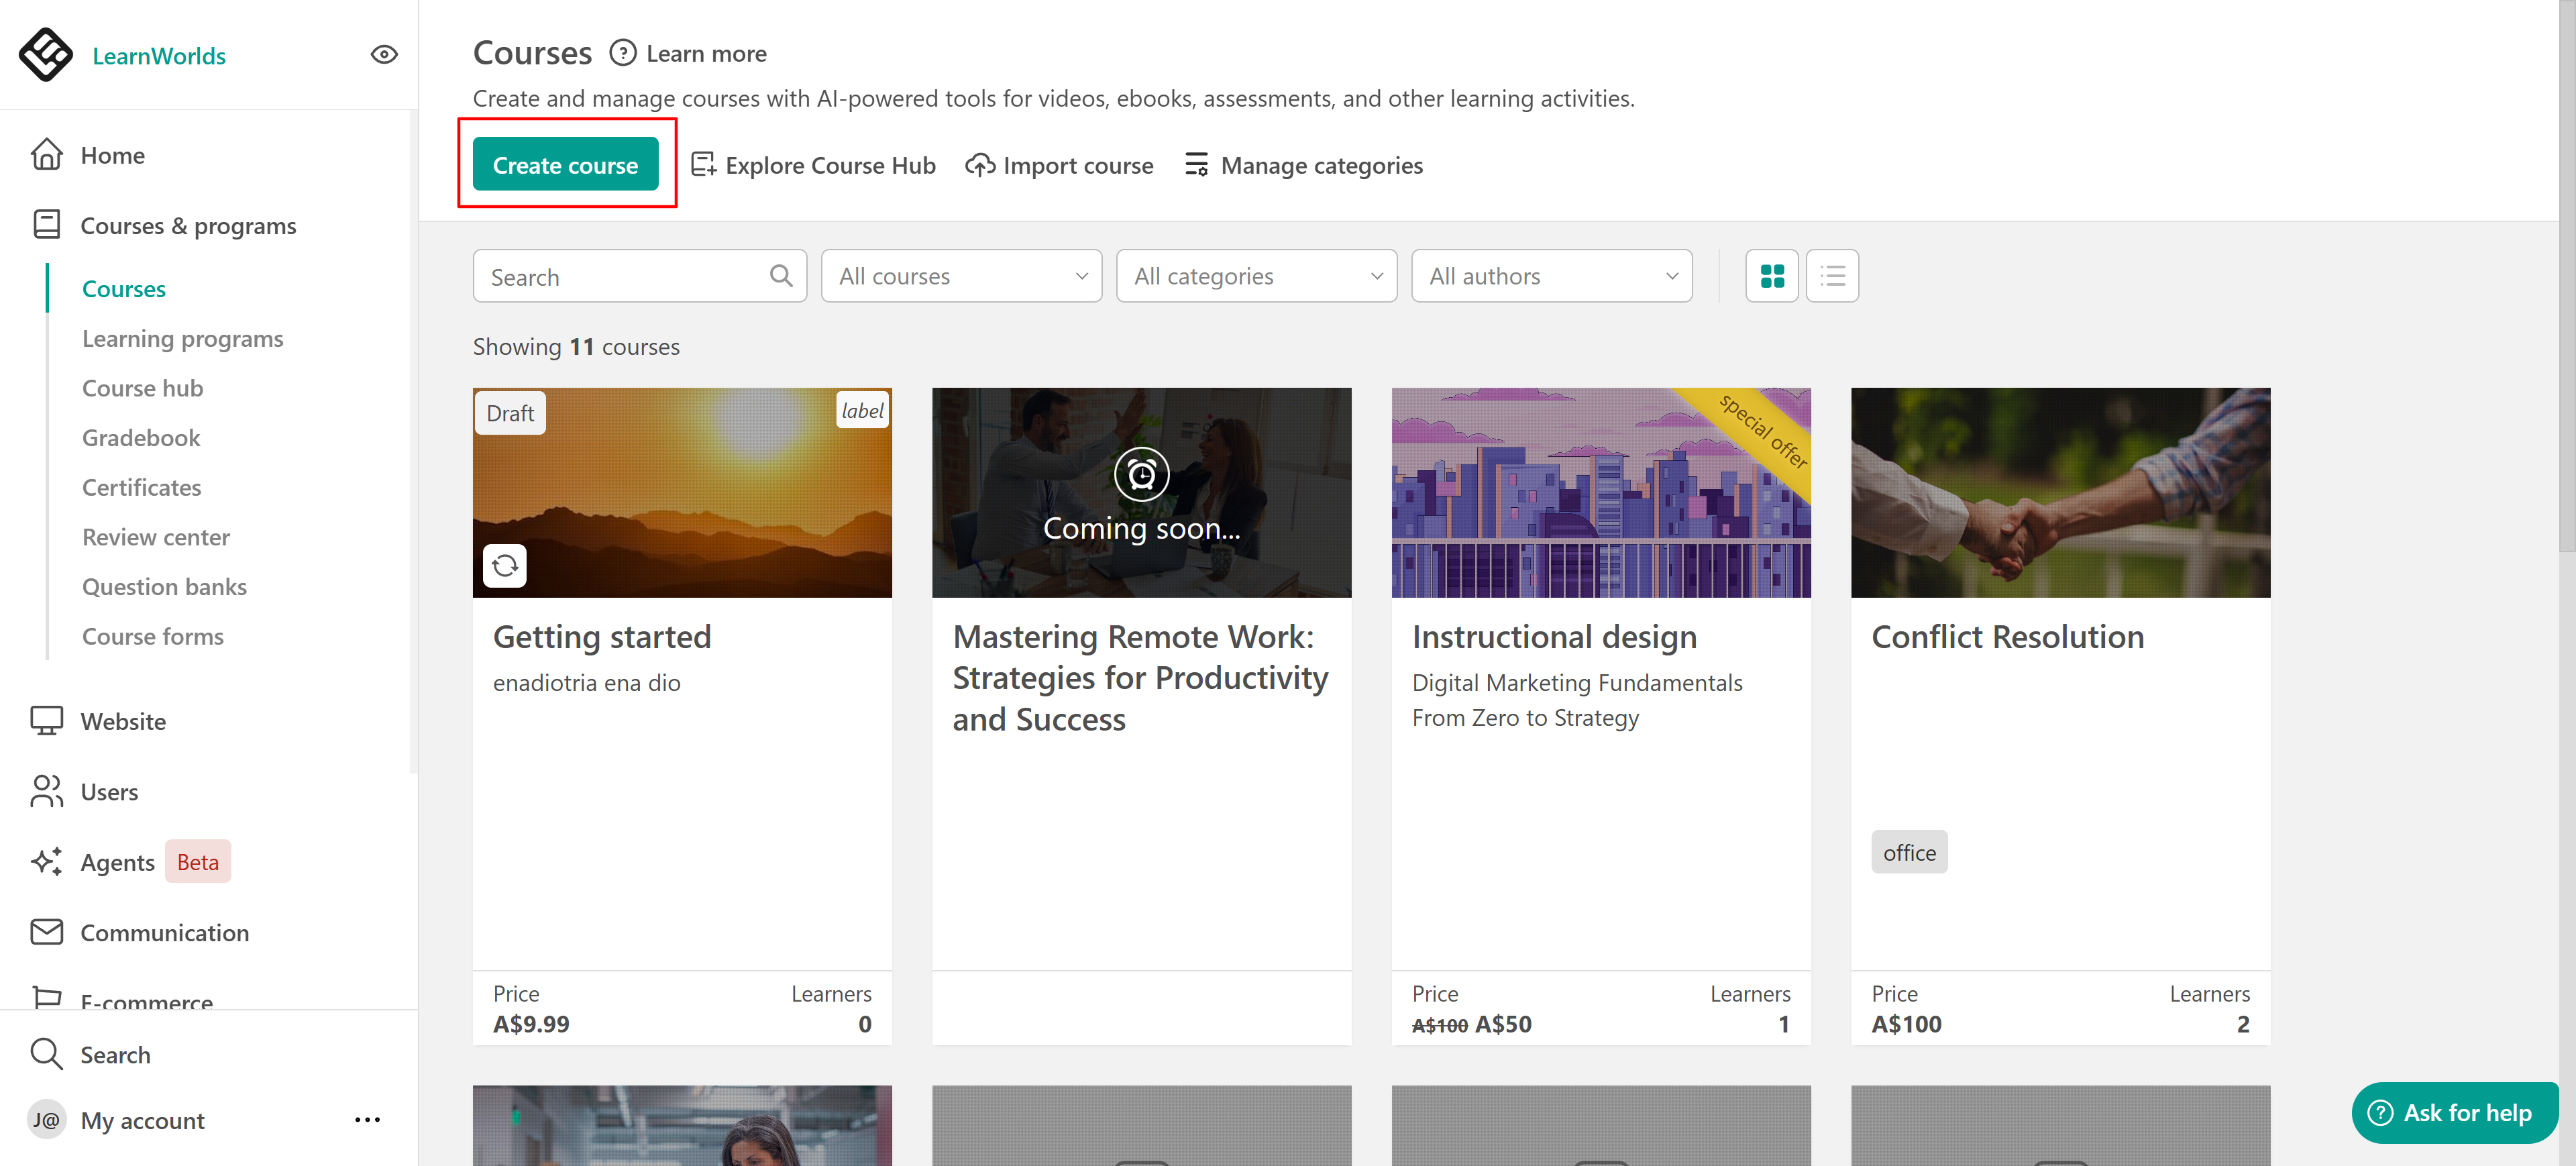
Both methods will take you to the Course Creation Wizard, a user-friendly tool that guides you through setting up your course in a few steps.
Course creation wizard
When you create a new course, the Course Creation Wizard opens, allowing you to choose how you want to build your course.
Choose how you’d like to get started: build your course from scratch, use AI to generate an outline, import a course from another school, or select a ready-made course to license from the course hub.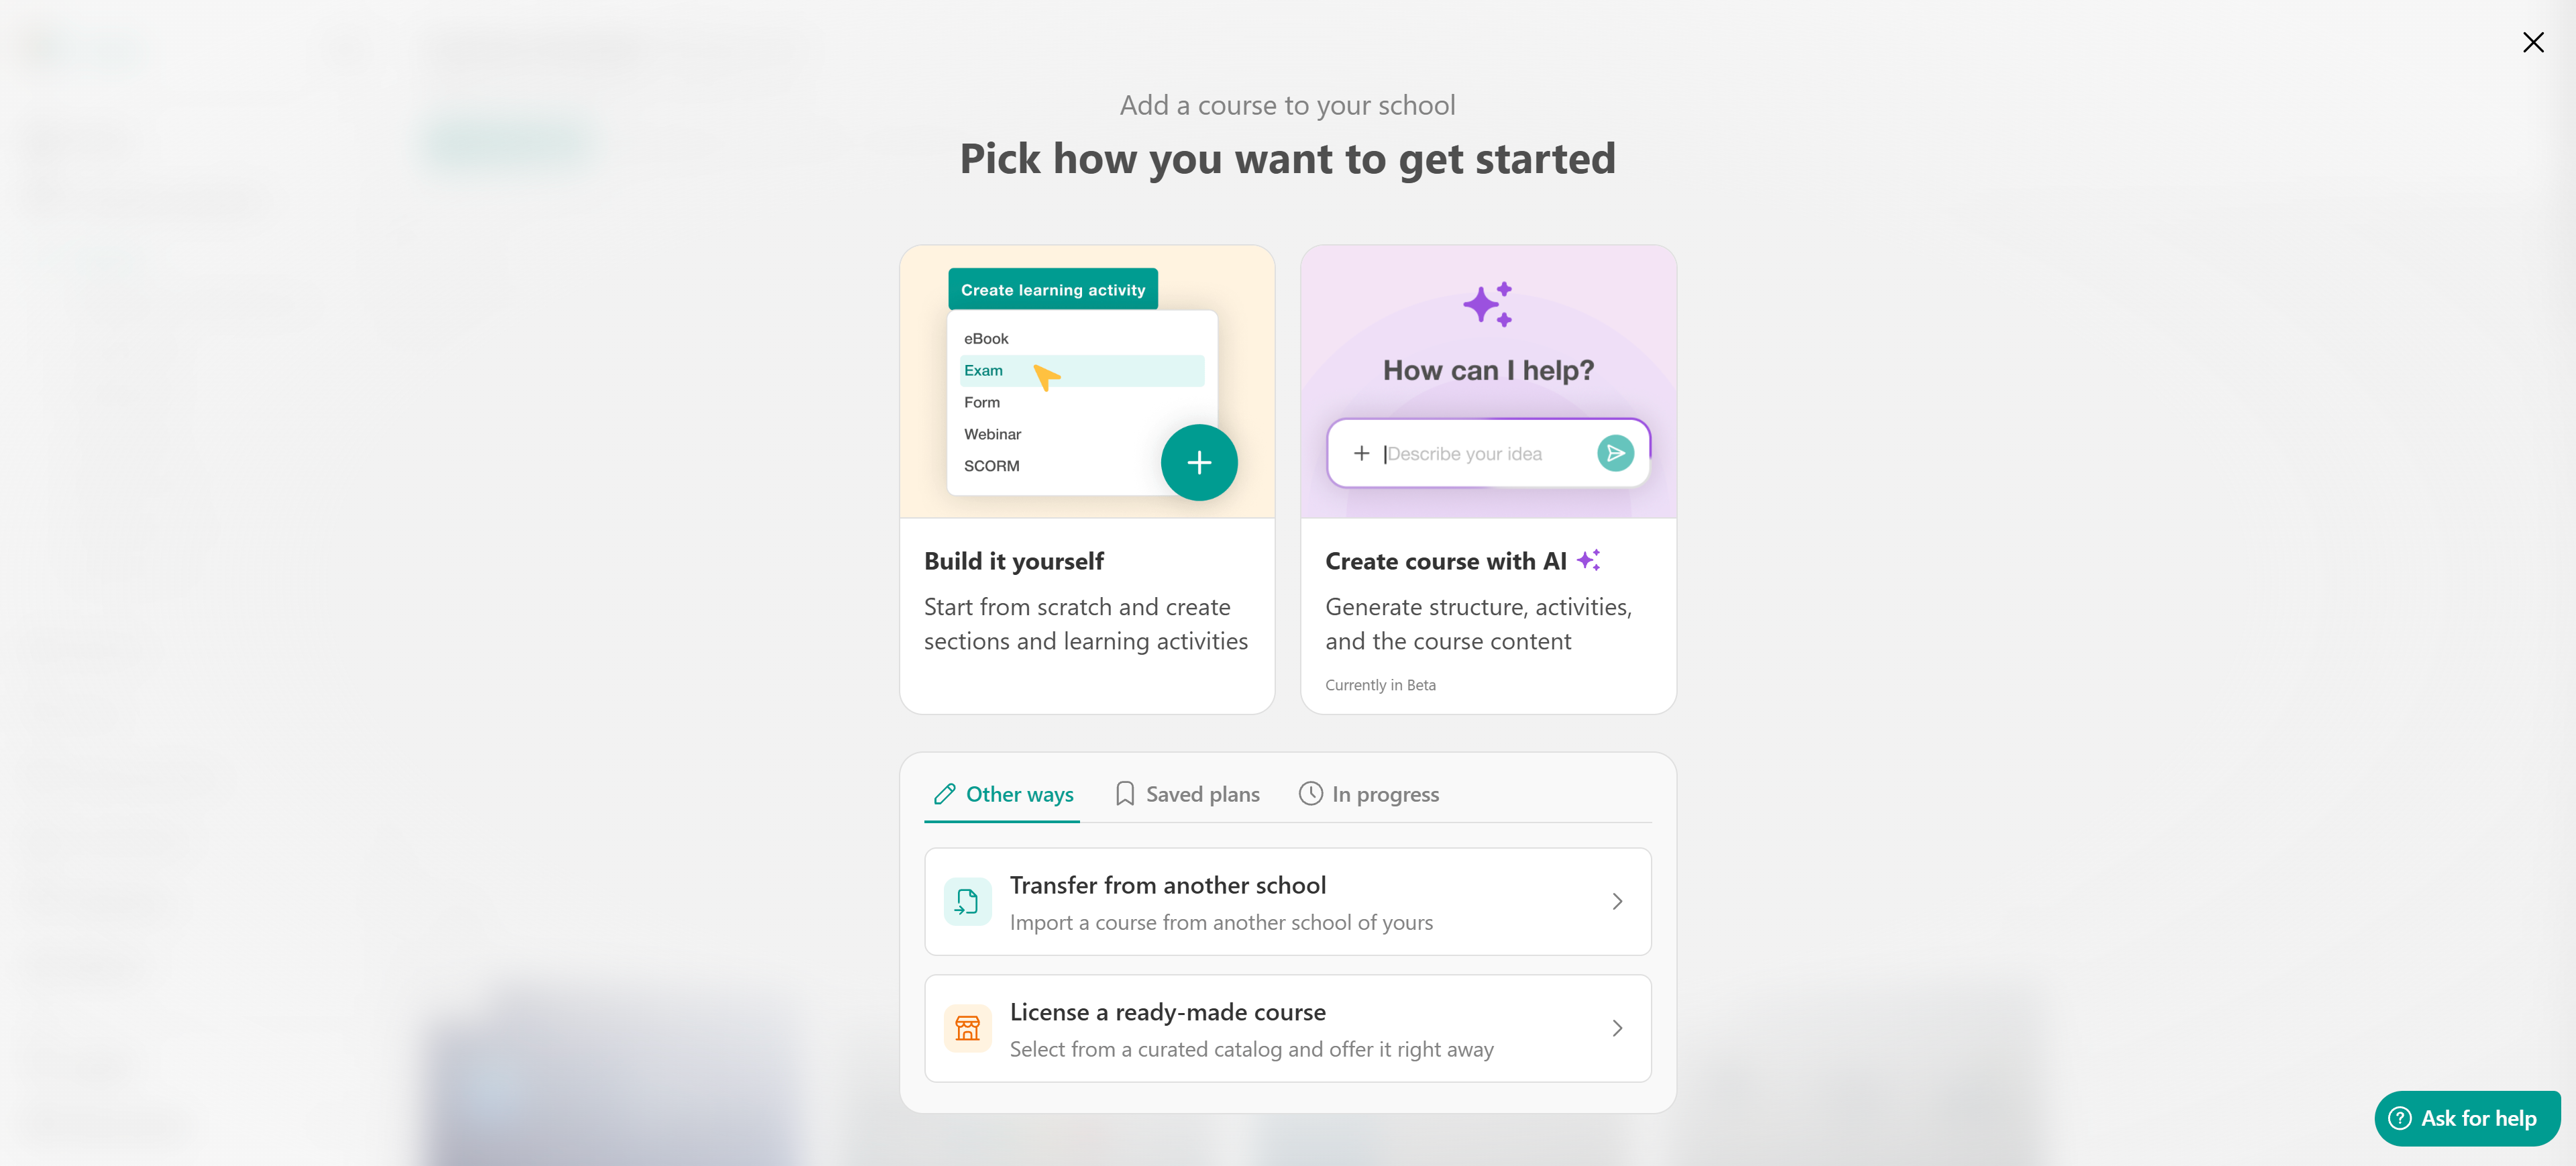
Let's see how to create the course manually.
1. Add Course Details: Add the name of the course, a description, and a cover image. The description and cover image are optional. 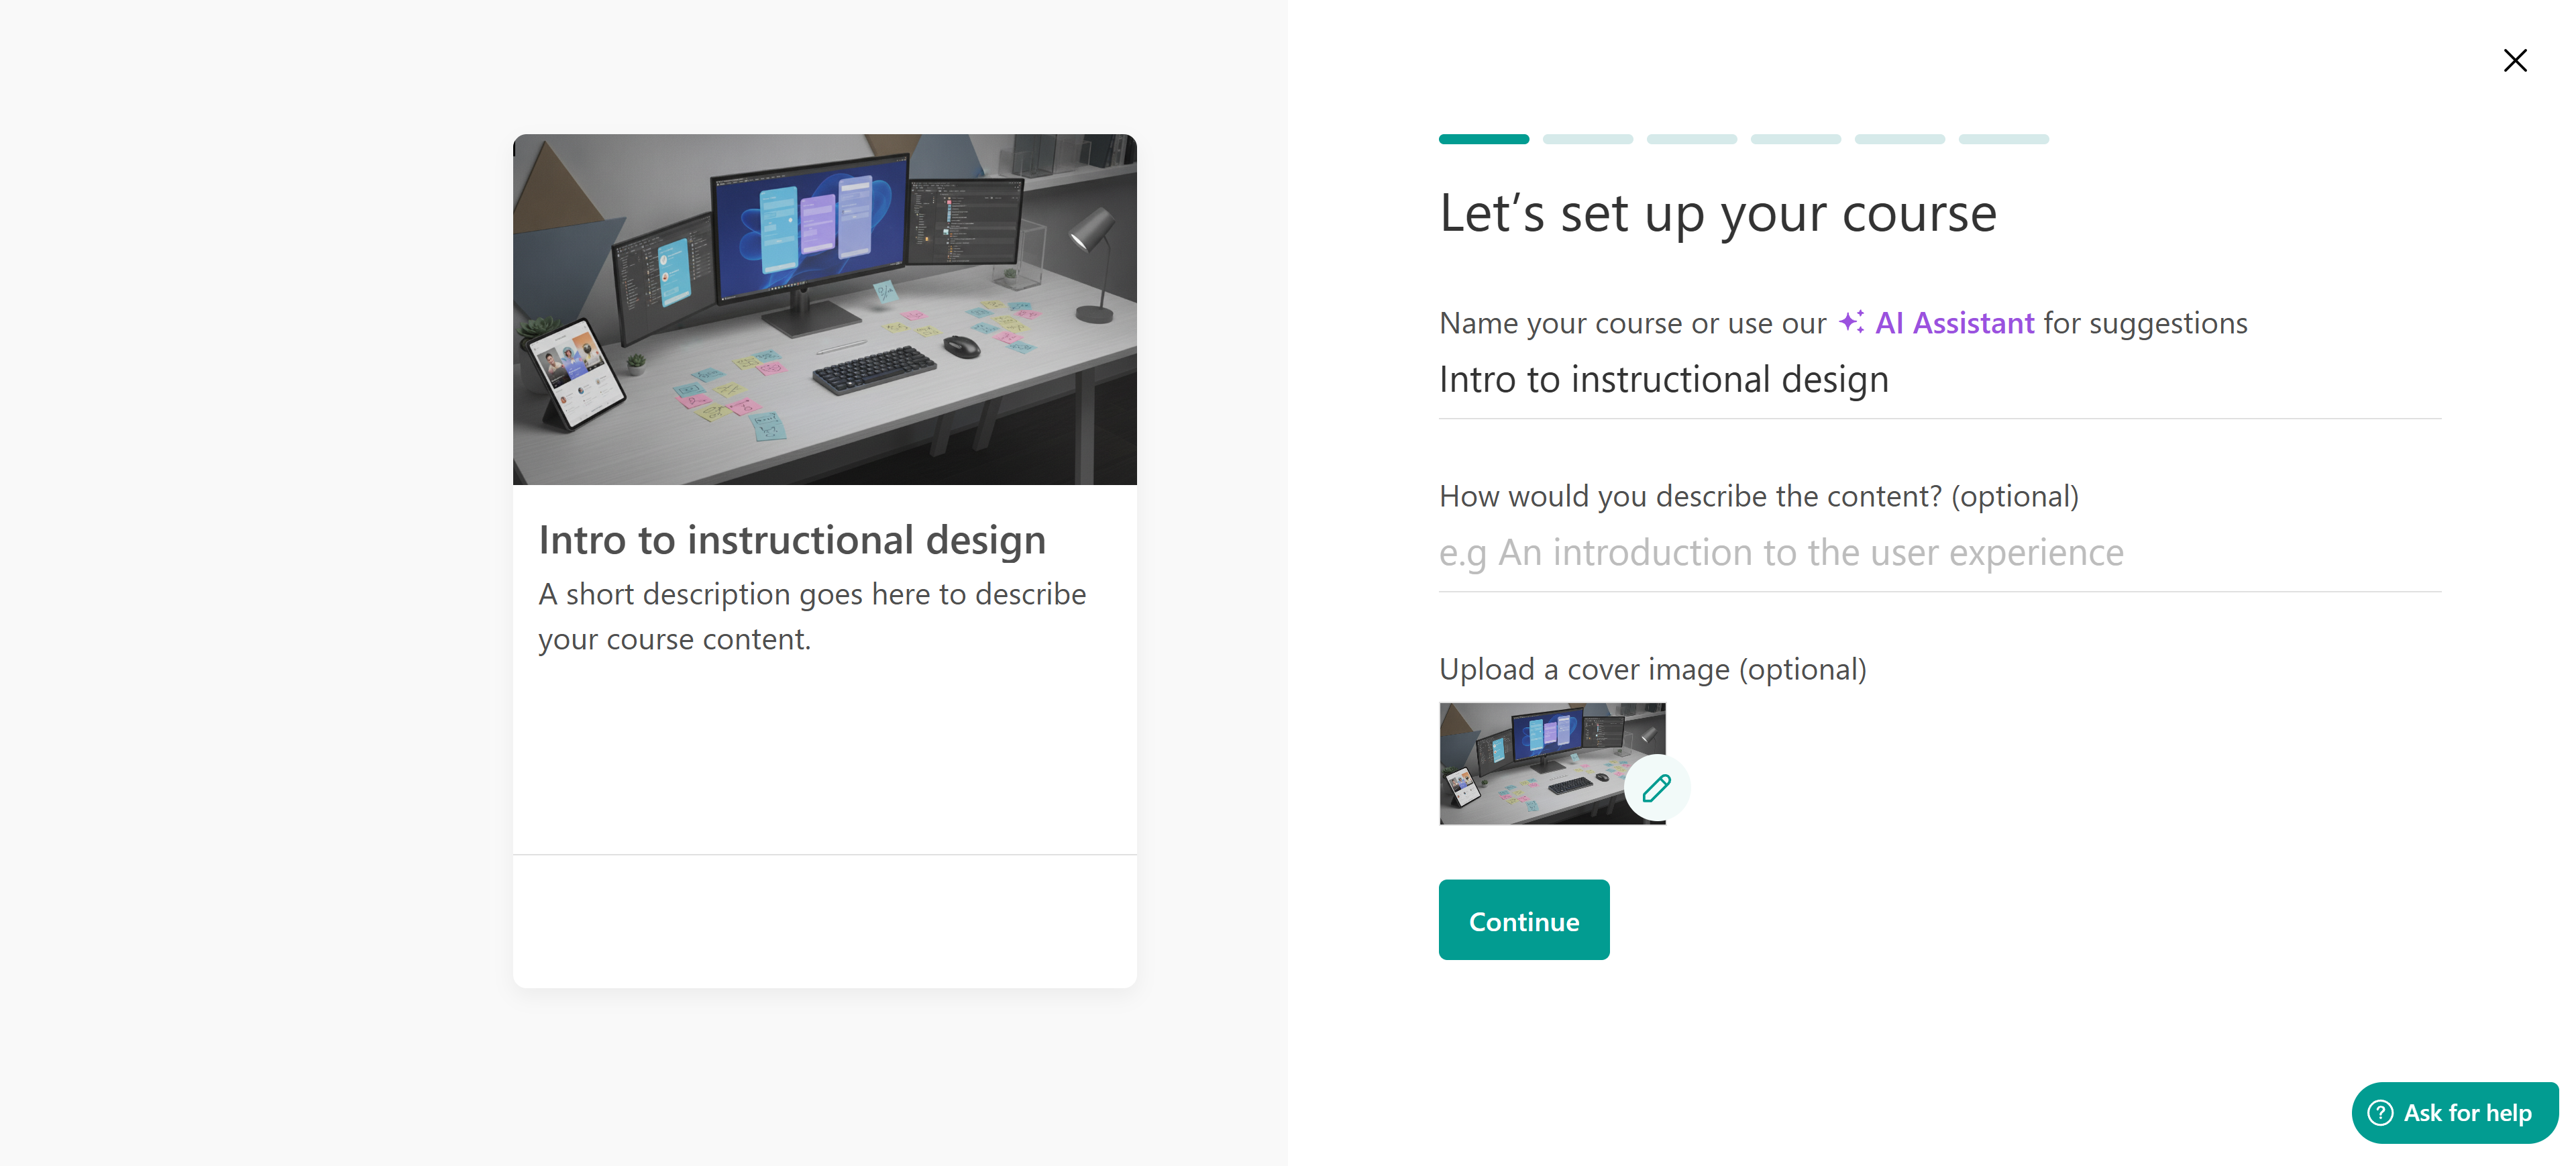
Use the AI Assistant to help craft your title and description. Click on the Assistant and provide the necessary details, like what users will gain after the course, the course level, and tone of voice. 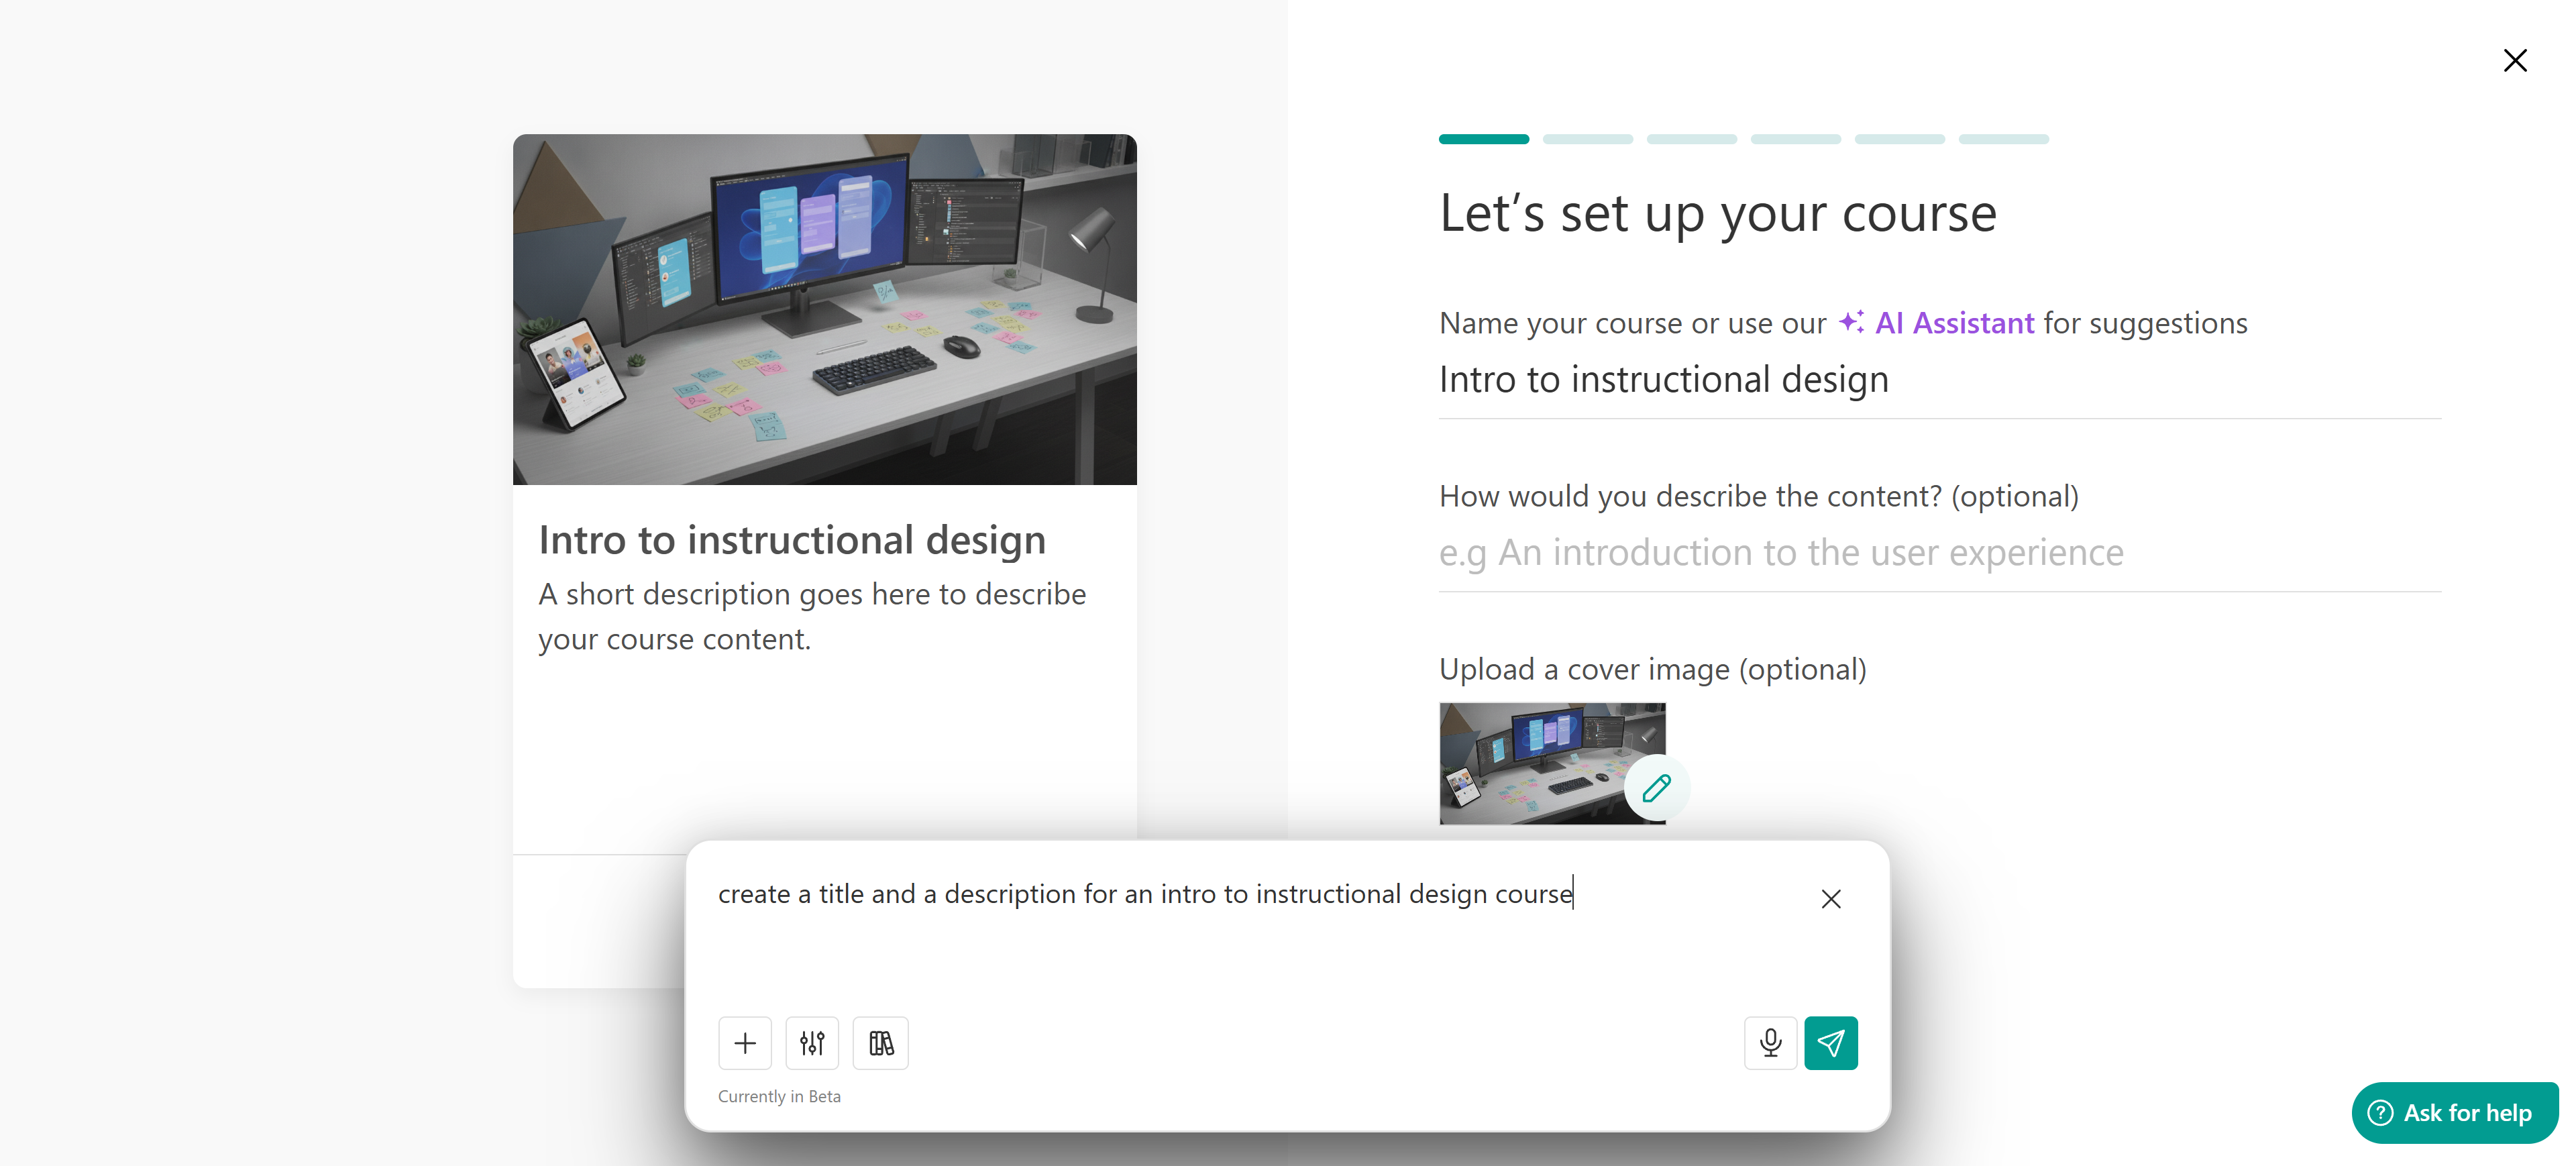
Once you’re ready, press Enter to receive a suggestion. If it fits your needs, you can confirm it with chat and the information will be added automatically. If not, you can ask again and refine the result.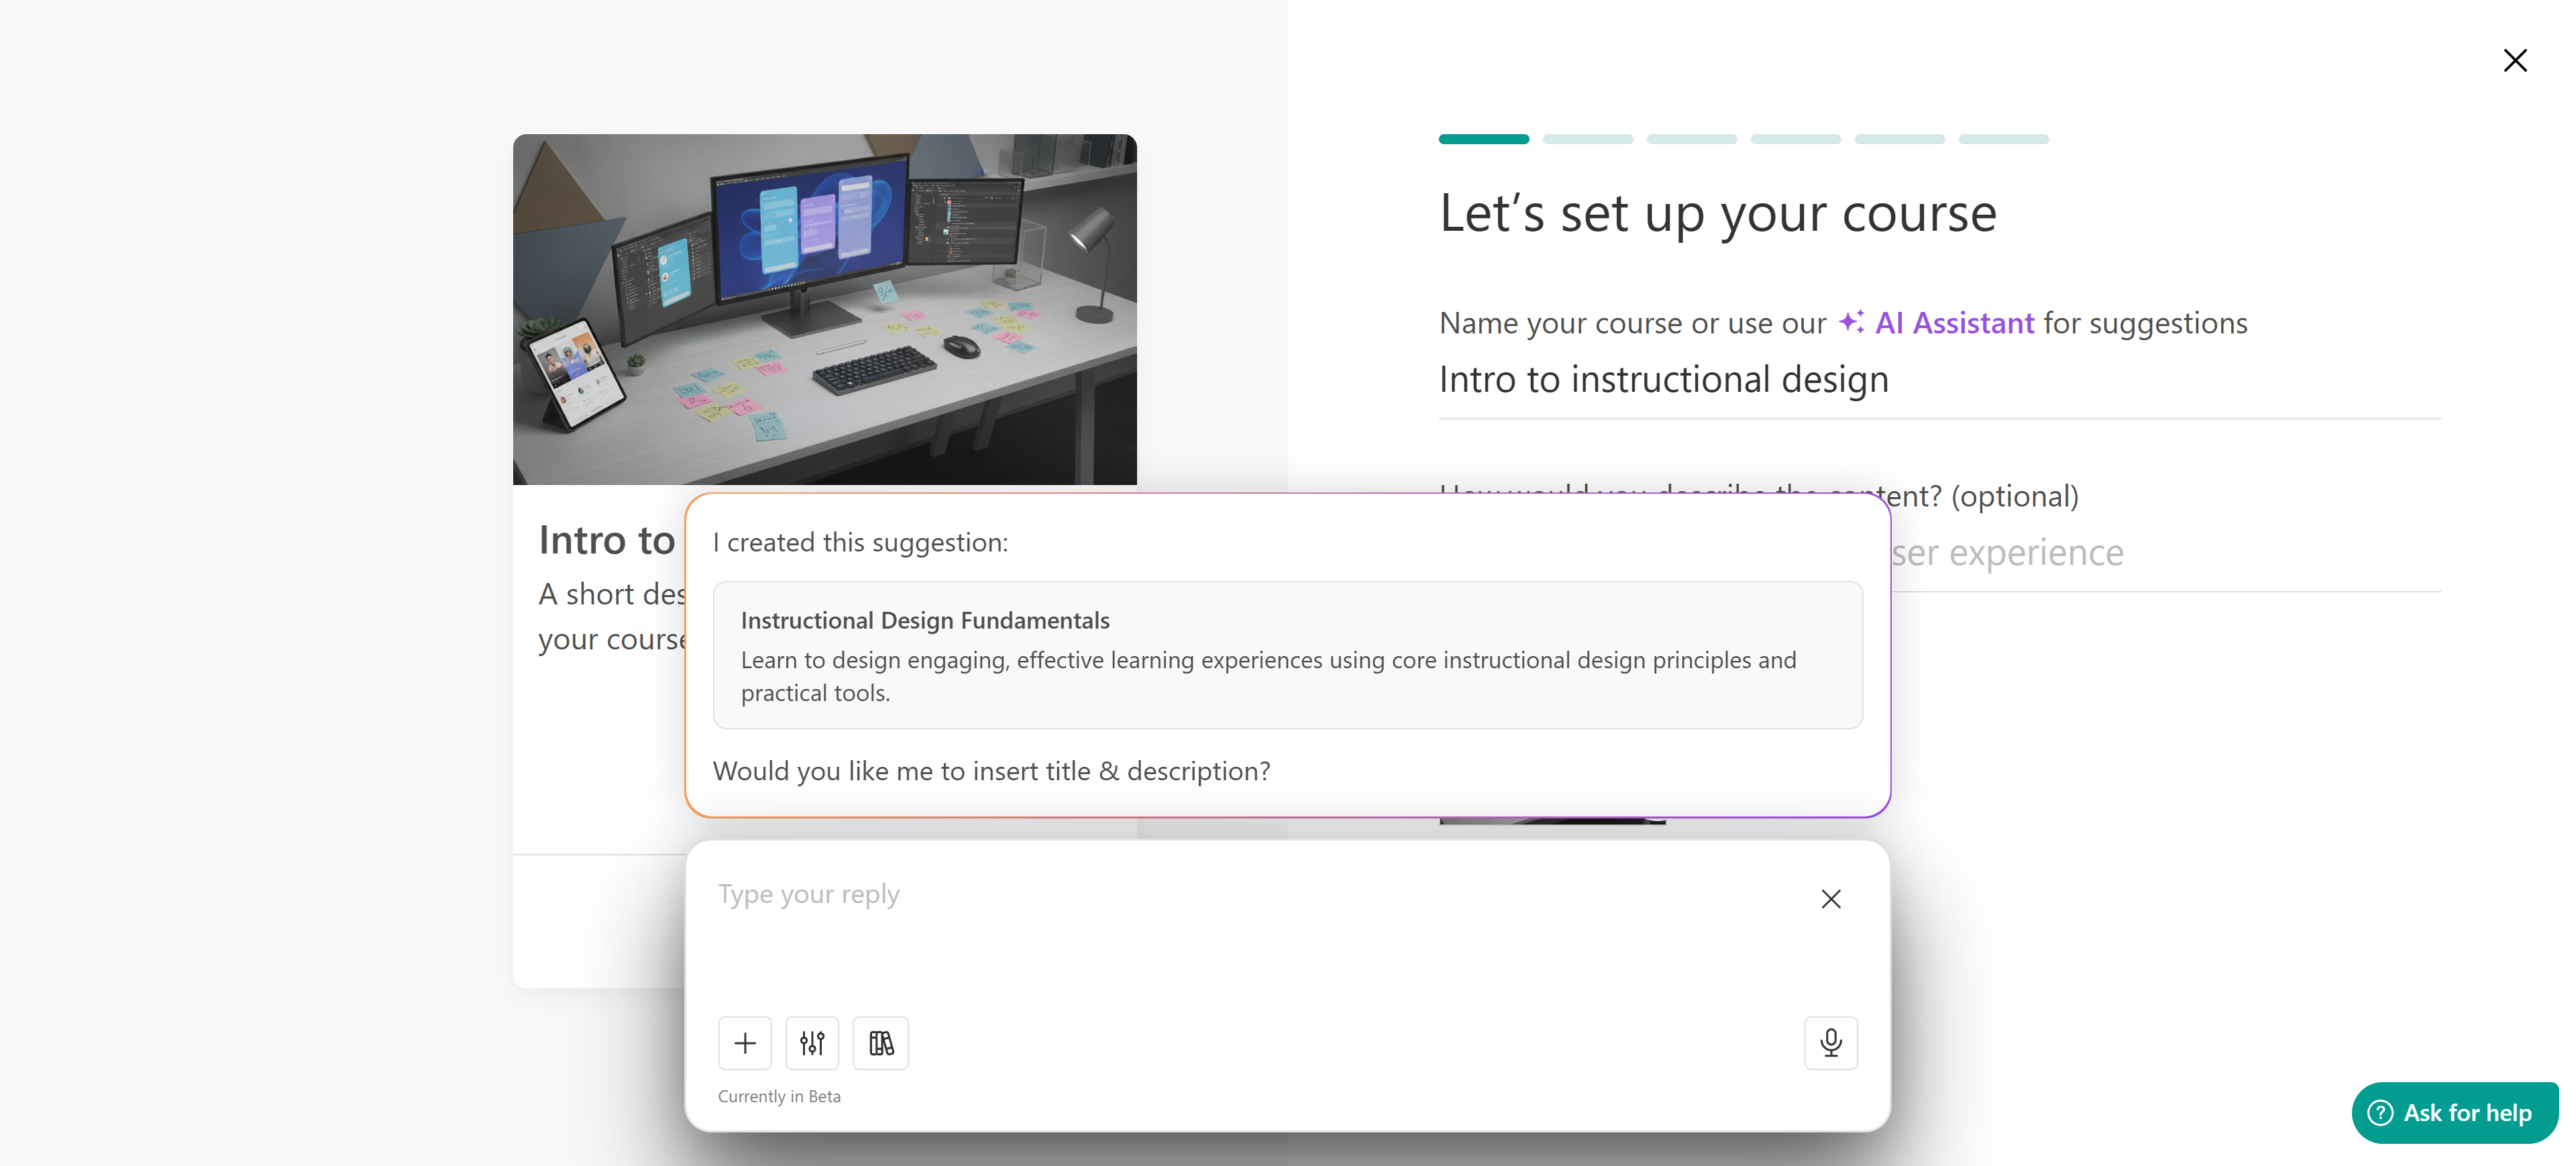
You can also use resources, paste your own text, or add references. To refine the results, try adjusting parameters such as the course’s intent or difficulty level.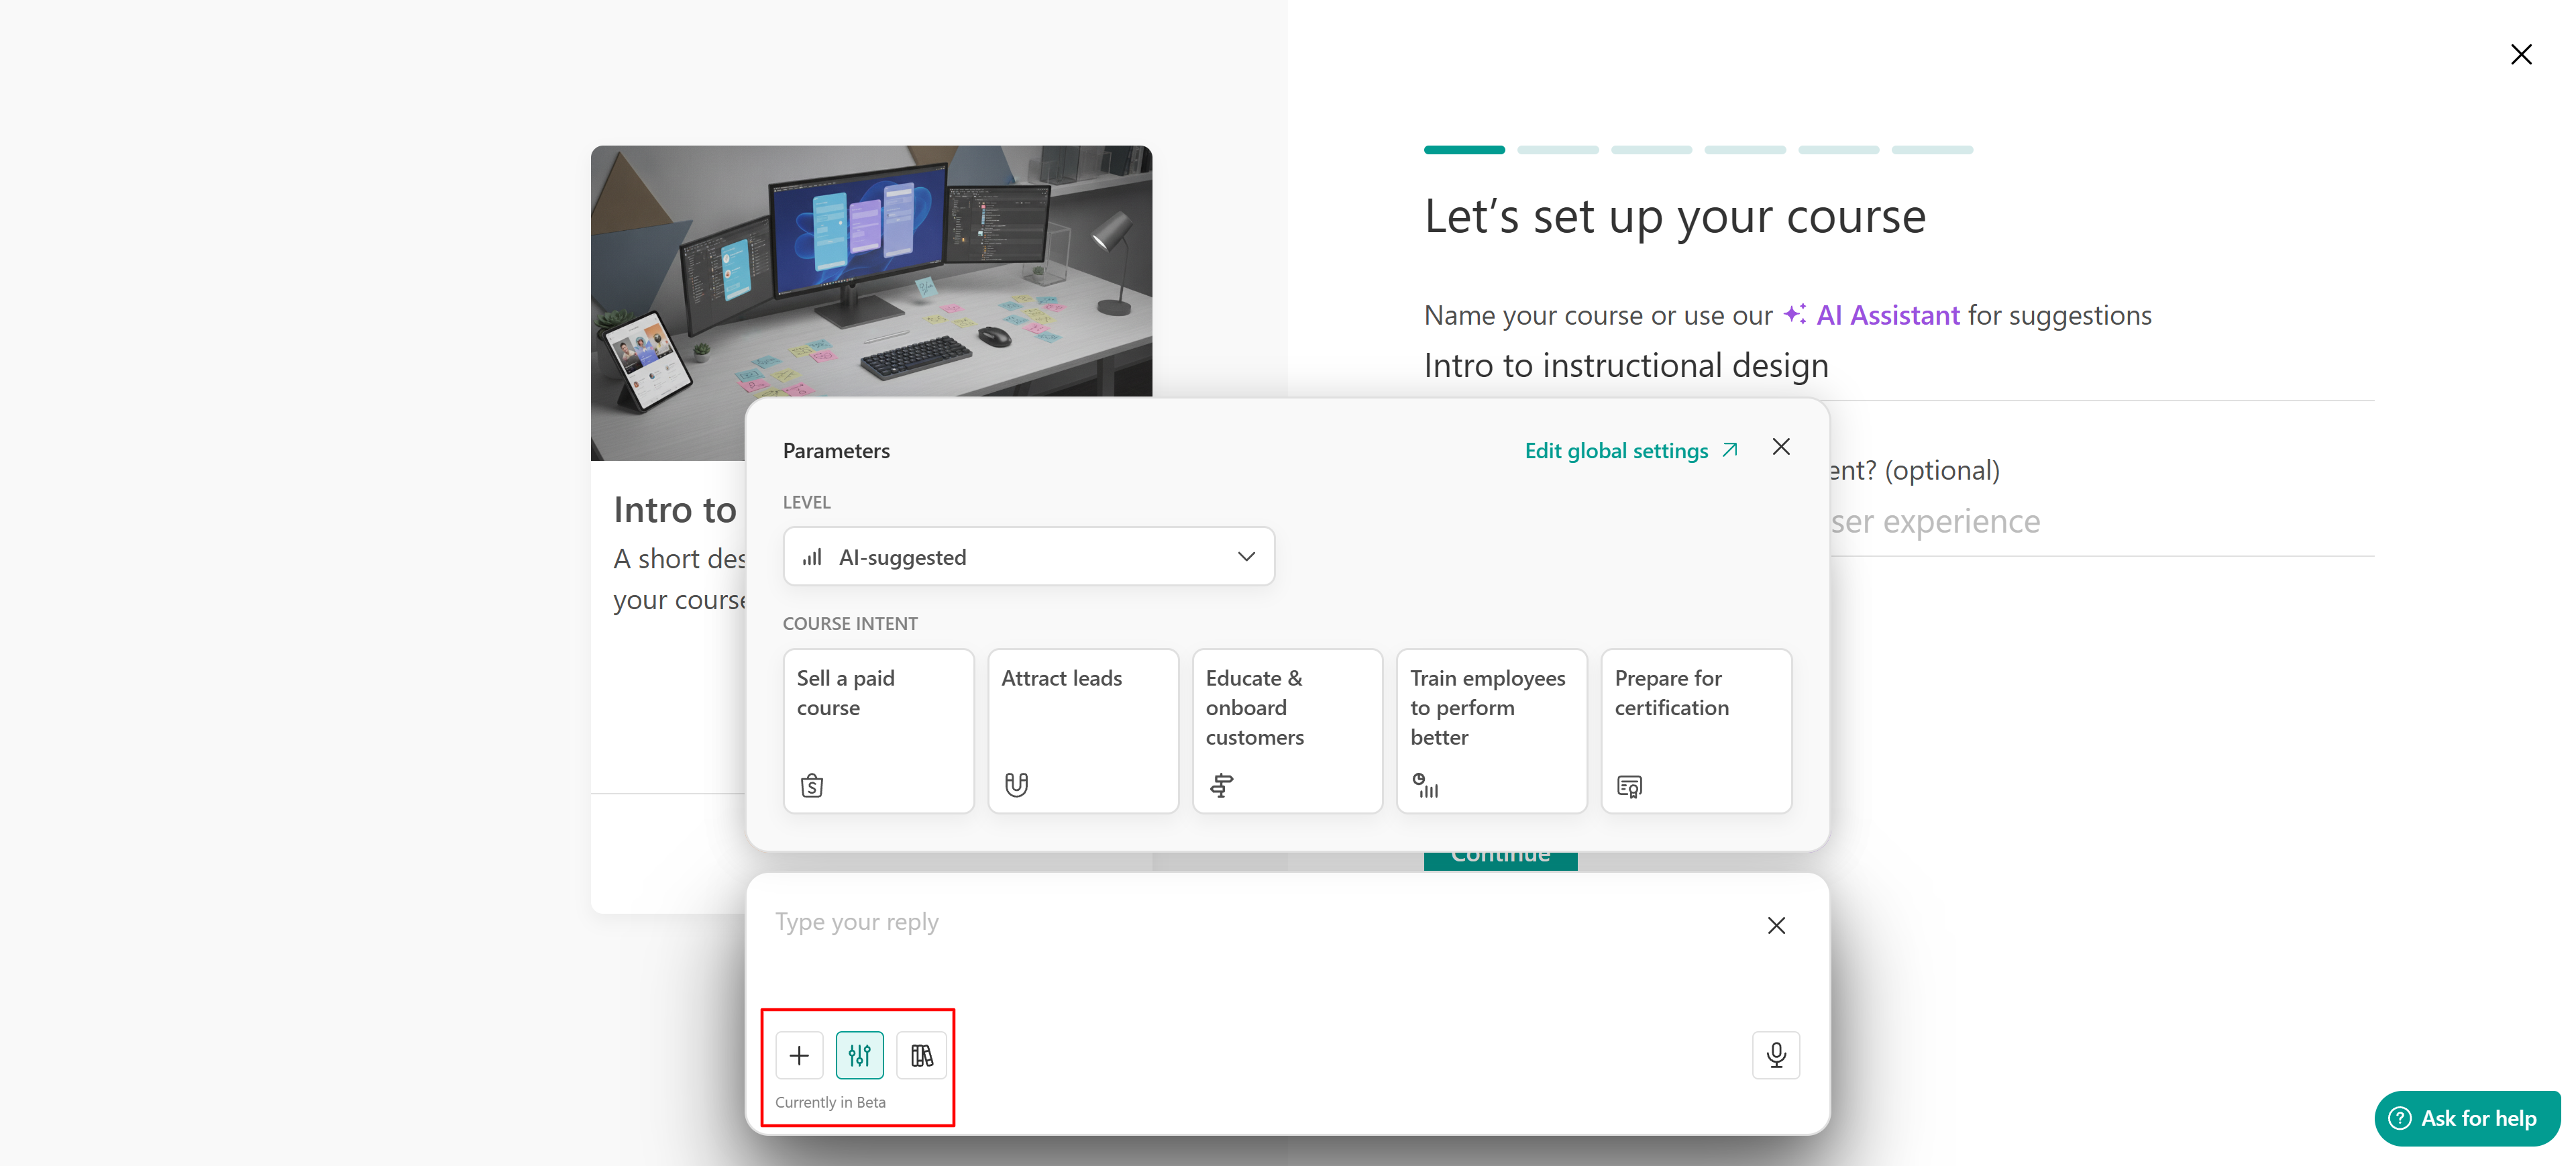
You can use the Sources library to upload files that AI can reference when generating your course content. To access it, click the books icon in the AI chatbox. Uploaded files remain in your Sources library after course creation and can be reused in future AI-generated content.
2. Set the Course URL: The course public URL will be automatically generated from the course title, but you can edit it if needed. 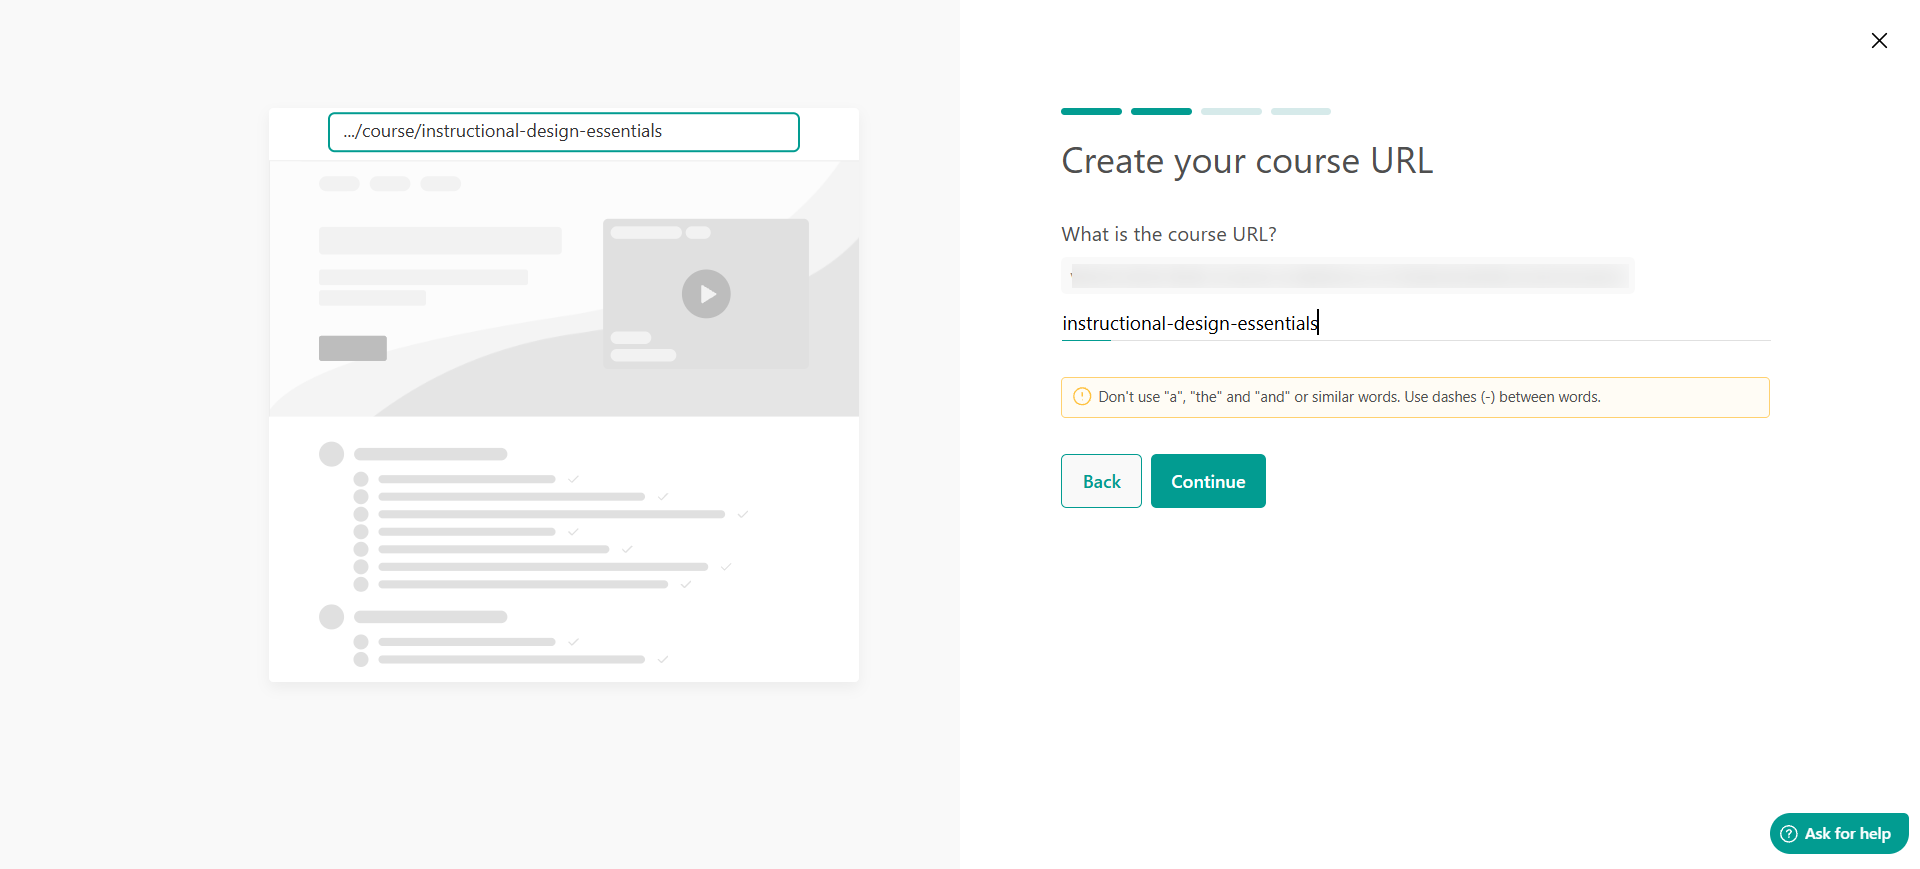 3. Choose the course access: Select the type of access for your course. You can choose between:
| Access | Description |
| Draft | The course is unpublished and only visible to you. This is ideal for building your course at your own pace. |
| Public | The course is published and available |
| Private | Only accessible to users who are manually enrolled. The course is not listed in the course catalogs. |
| Coming Soon | Visible to users but not yet available for enrollment. It builds anticipation. |
4. Set the price: In the Choose a pricing option step, select how learners will pay for or access your course. You can choose from four pricing options: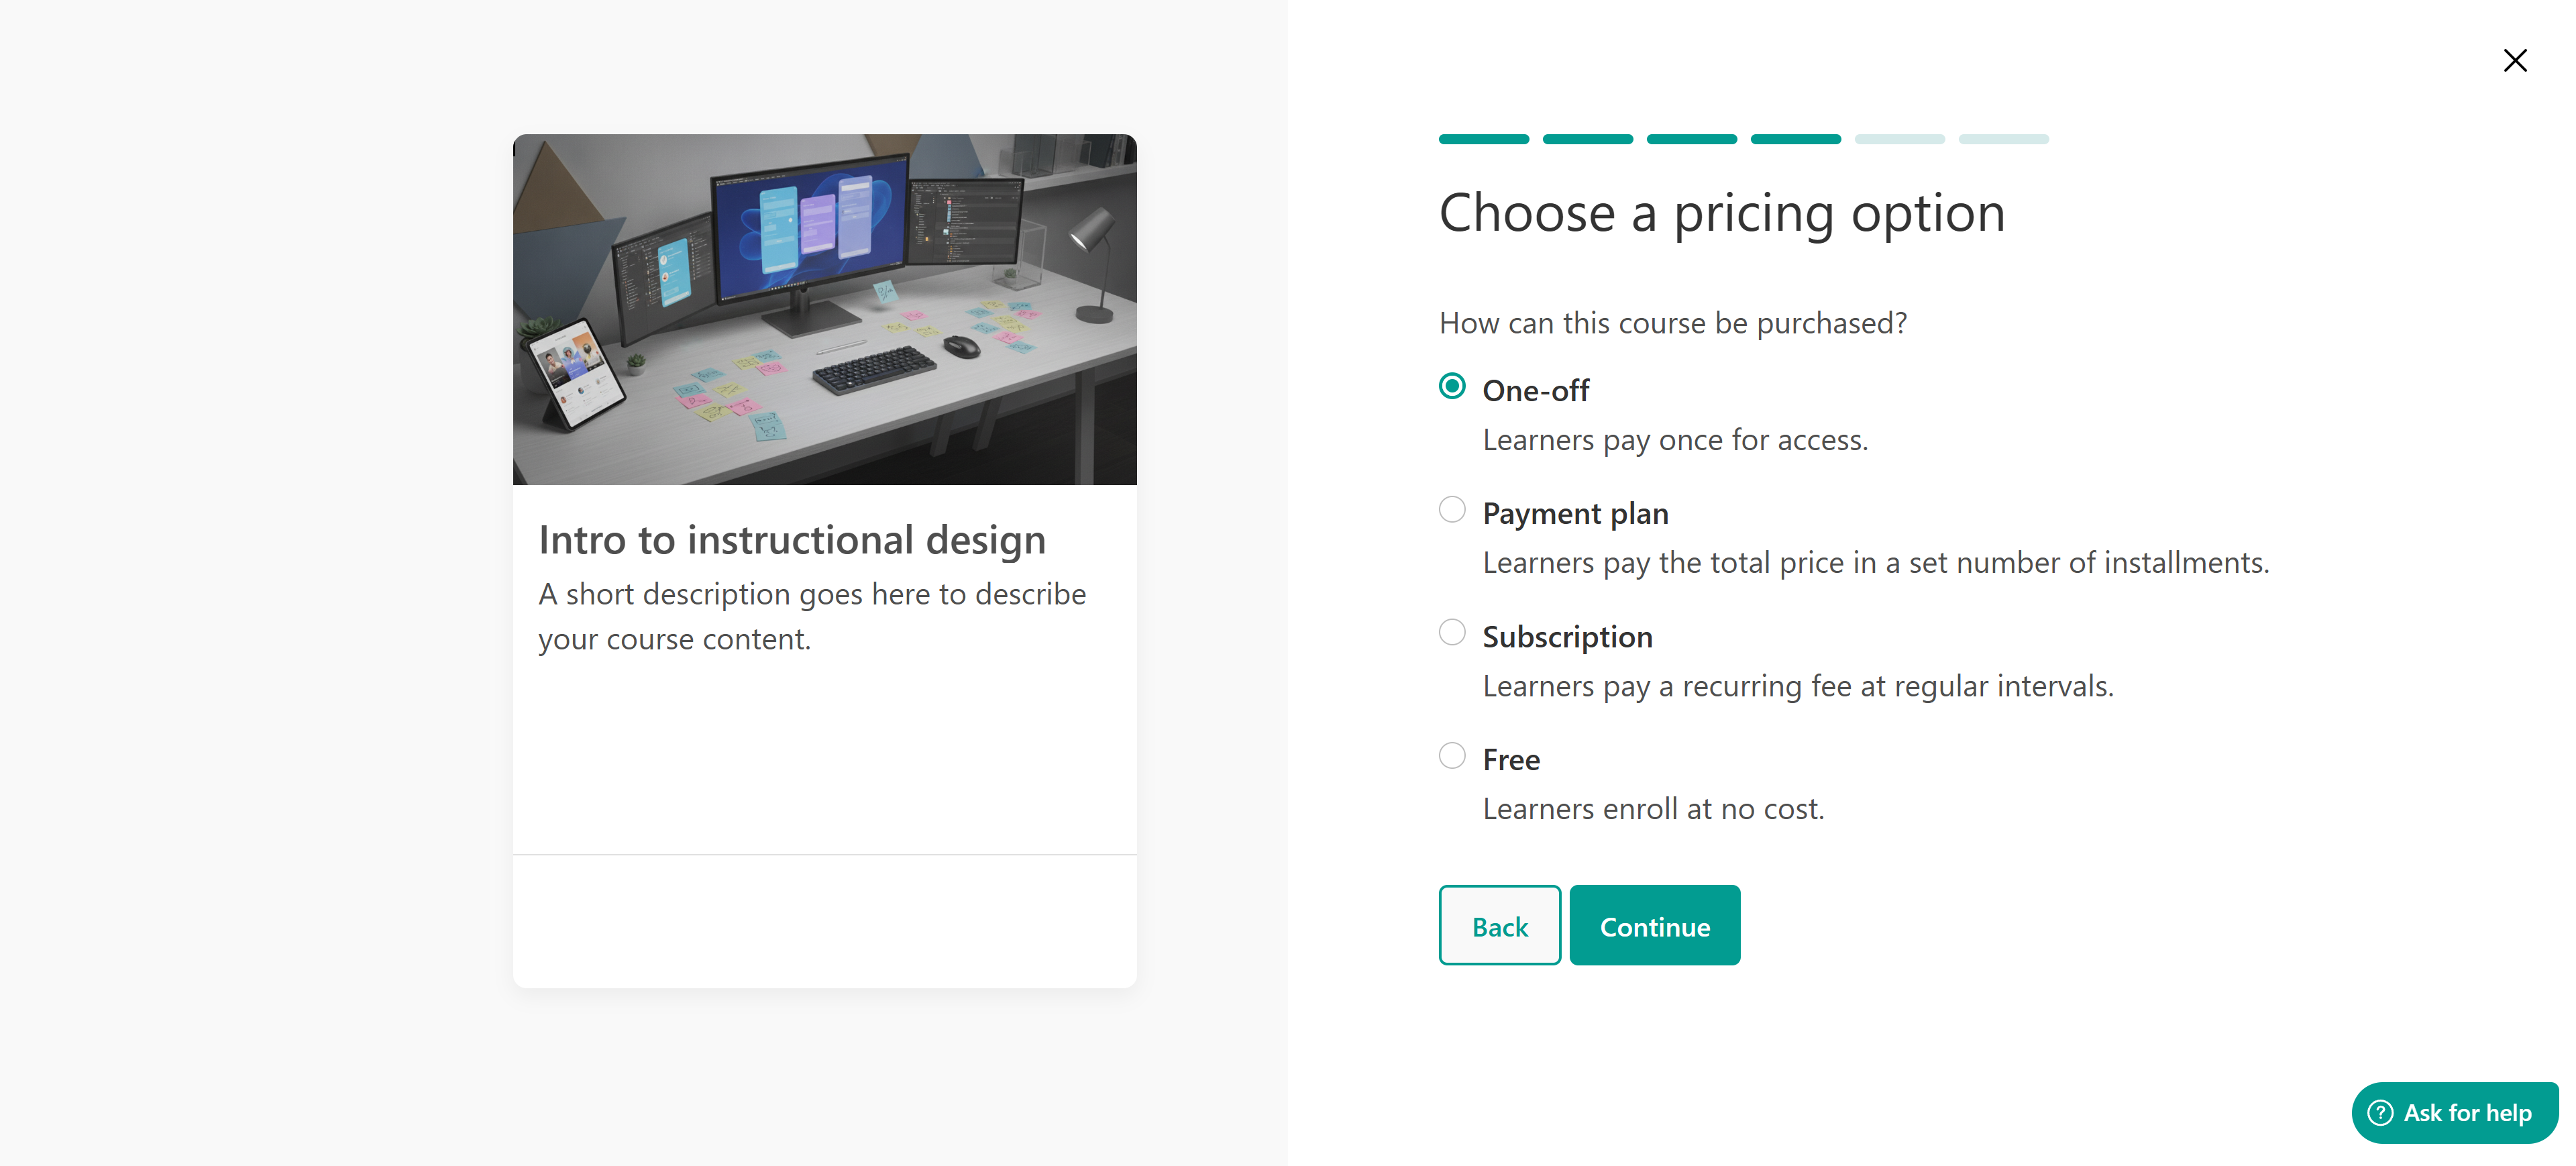
- One-off: Learners make a single payment to access the course
- Payment plan: Learners pay the total course price in a set number of installments
- Subscription: Learners pay a recurring fee at regular intervals
- Free: Learners can enroll in the course at no cost
Select your preferred pricing option and click Continue. In the next step, you'll configure the pricing details based on your selection. You can set the course price for a one-off payment, configure the recurring price and billing interval for a subscription, or define the number of installments and payment amounts for a payment plan.
5. Pick a page template: Choose the default theme layout for your course page or apply a layout from another course.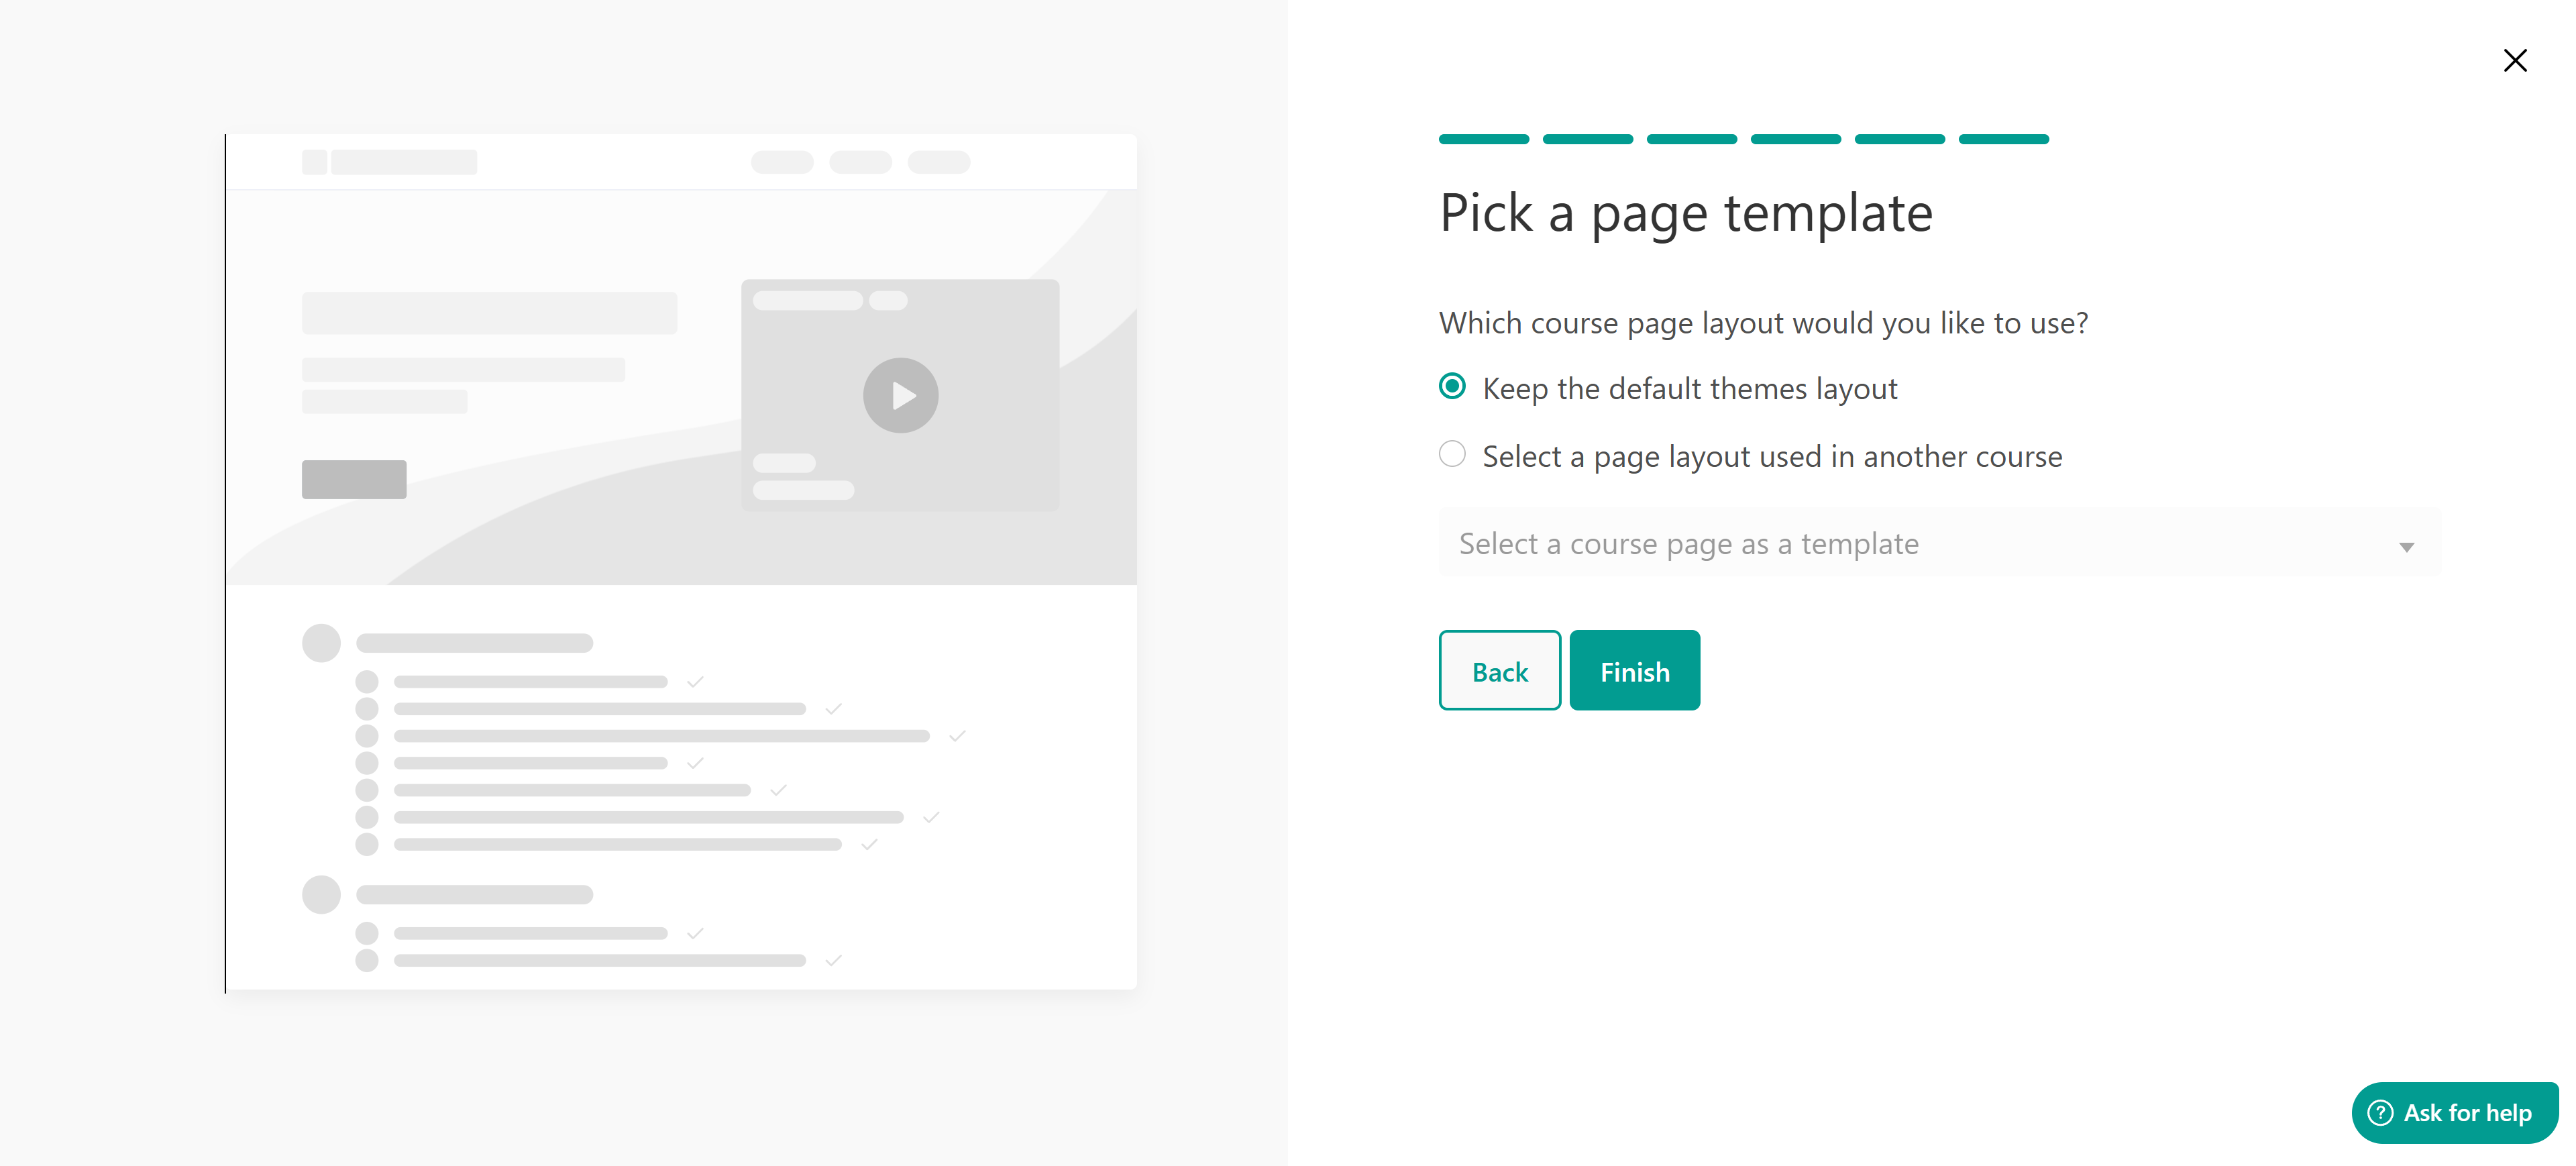
Want to group your courses? Create a learning program, learn how here.
Next steps
Once your course is created, you can start organizing the course content:
1. Create the course outline from scratch by adding new sections and learning activities.
2. Use LearnWorlds' AI assistant to help generate your course outline.
3. Bulk upload files that will be automatically converted into activities.
4. Import and sync existing content.