The Thank You page is the concluding stage users encounter after purchasing one of your products. It represents the final step in your conversion process, offering an opportunity to advance the engagement further by:
- Thank the subscriber for enrolling.
- Make the requested product easily accessible.
- Provide instructions on what happens next.
- Direct learners to other parts in and out of your school.
- Upsell by providing explicit course discount offers with coupons.
In this article, we will learn how to set up, customize, and even create multiple Thank you pages in your LearnWorlds school.
Set up the Thank You Page
Thank You pages can be customized and assigned globally (for all products) or individually (per product). These settings are available in the Pro Trainer plan or higher.
Global After Purchase Settings
To assign a global Thank You page behavior for all products:
- Go to E-commerce → Cart & Checkout flow from the left-side menu.
- Under the After Purchase tab, you will see options grouped by purchase type:
- Single product purchases
- Multiple product purchases
- Free courses after enrollment navigation
3. Under each section, choose the "Thank You" option to direct learners to a specially designed page after a purchase.
Other redirection options include:
- Course/ Program player
- Product description page
- After login page
- Another page (custom page from Pages Builder)
- Specific URL
4. Click Save at the top of the screen to apply changes

Product-Specific Thank You Pages
If you want a unique experience per product, you can:
- Go to Courses & Programs, then select a specific course or learning program.
- Under Settings → Access, scroll to After purchase navigation.
- Select Set product-specific navigation.
- Choose the Thank You page or any other redirection target like:
- Course Player
- Course Description
- After Login Page
- Another Page (created with Pages Builder)
- Specific URL
Customize the Thank You Page for Upselling
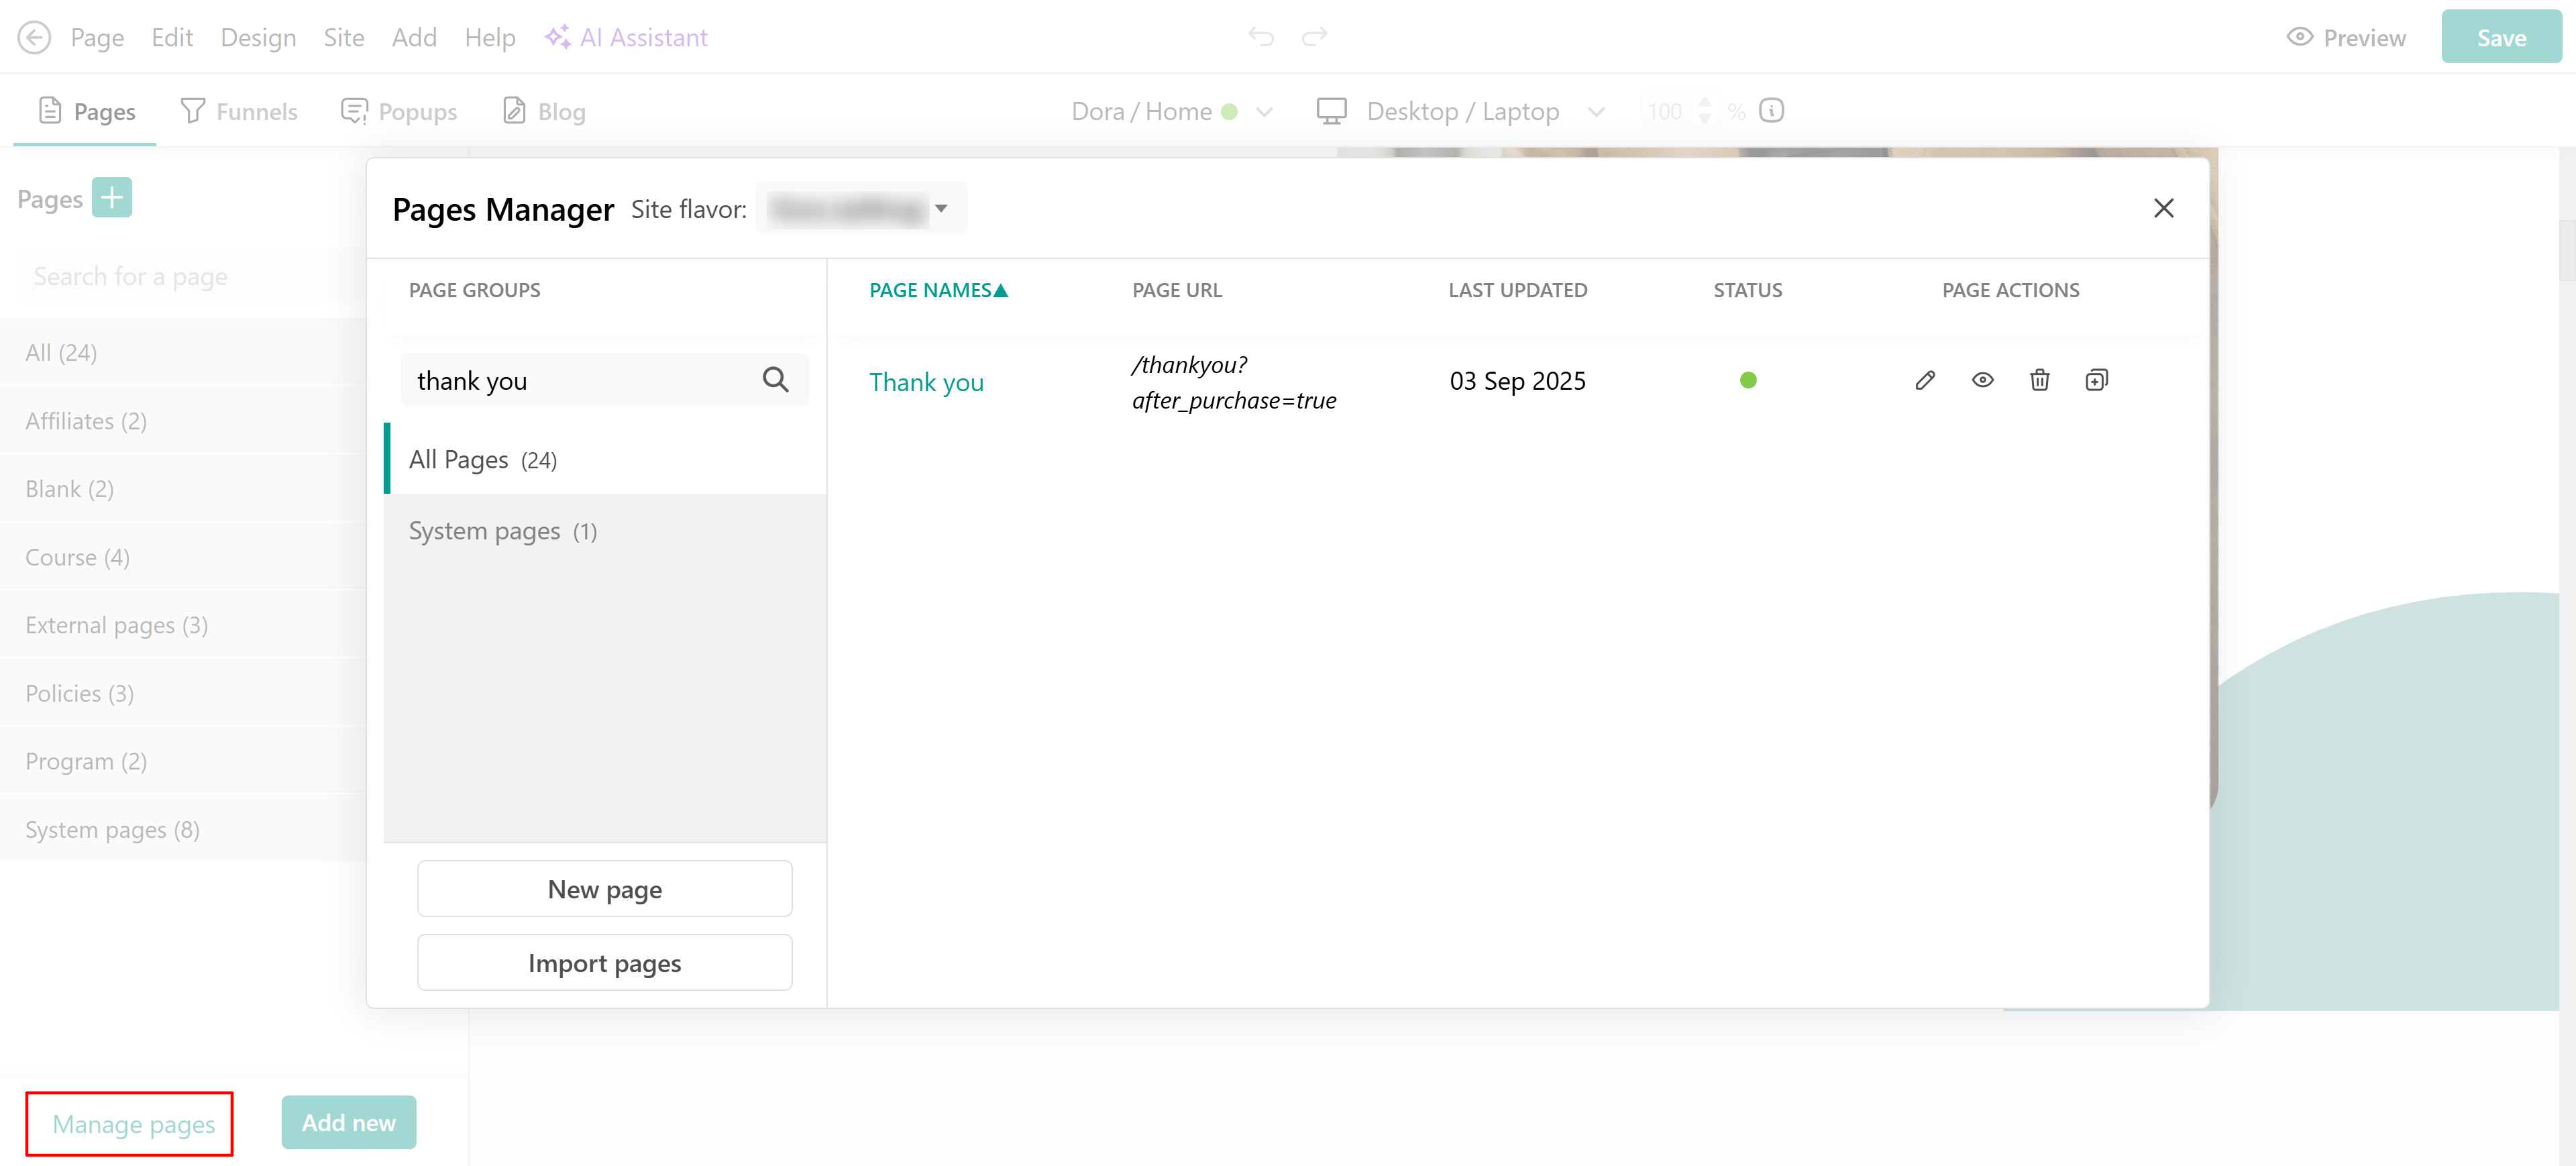
1. Navigate to your Pages Manager and select the default Thank you page.
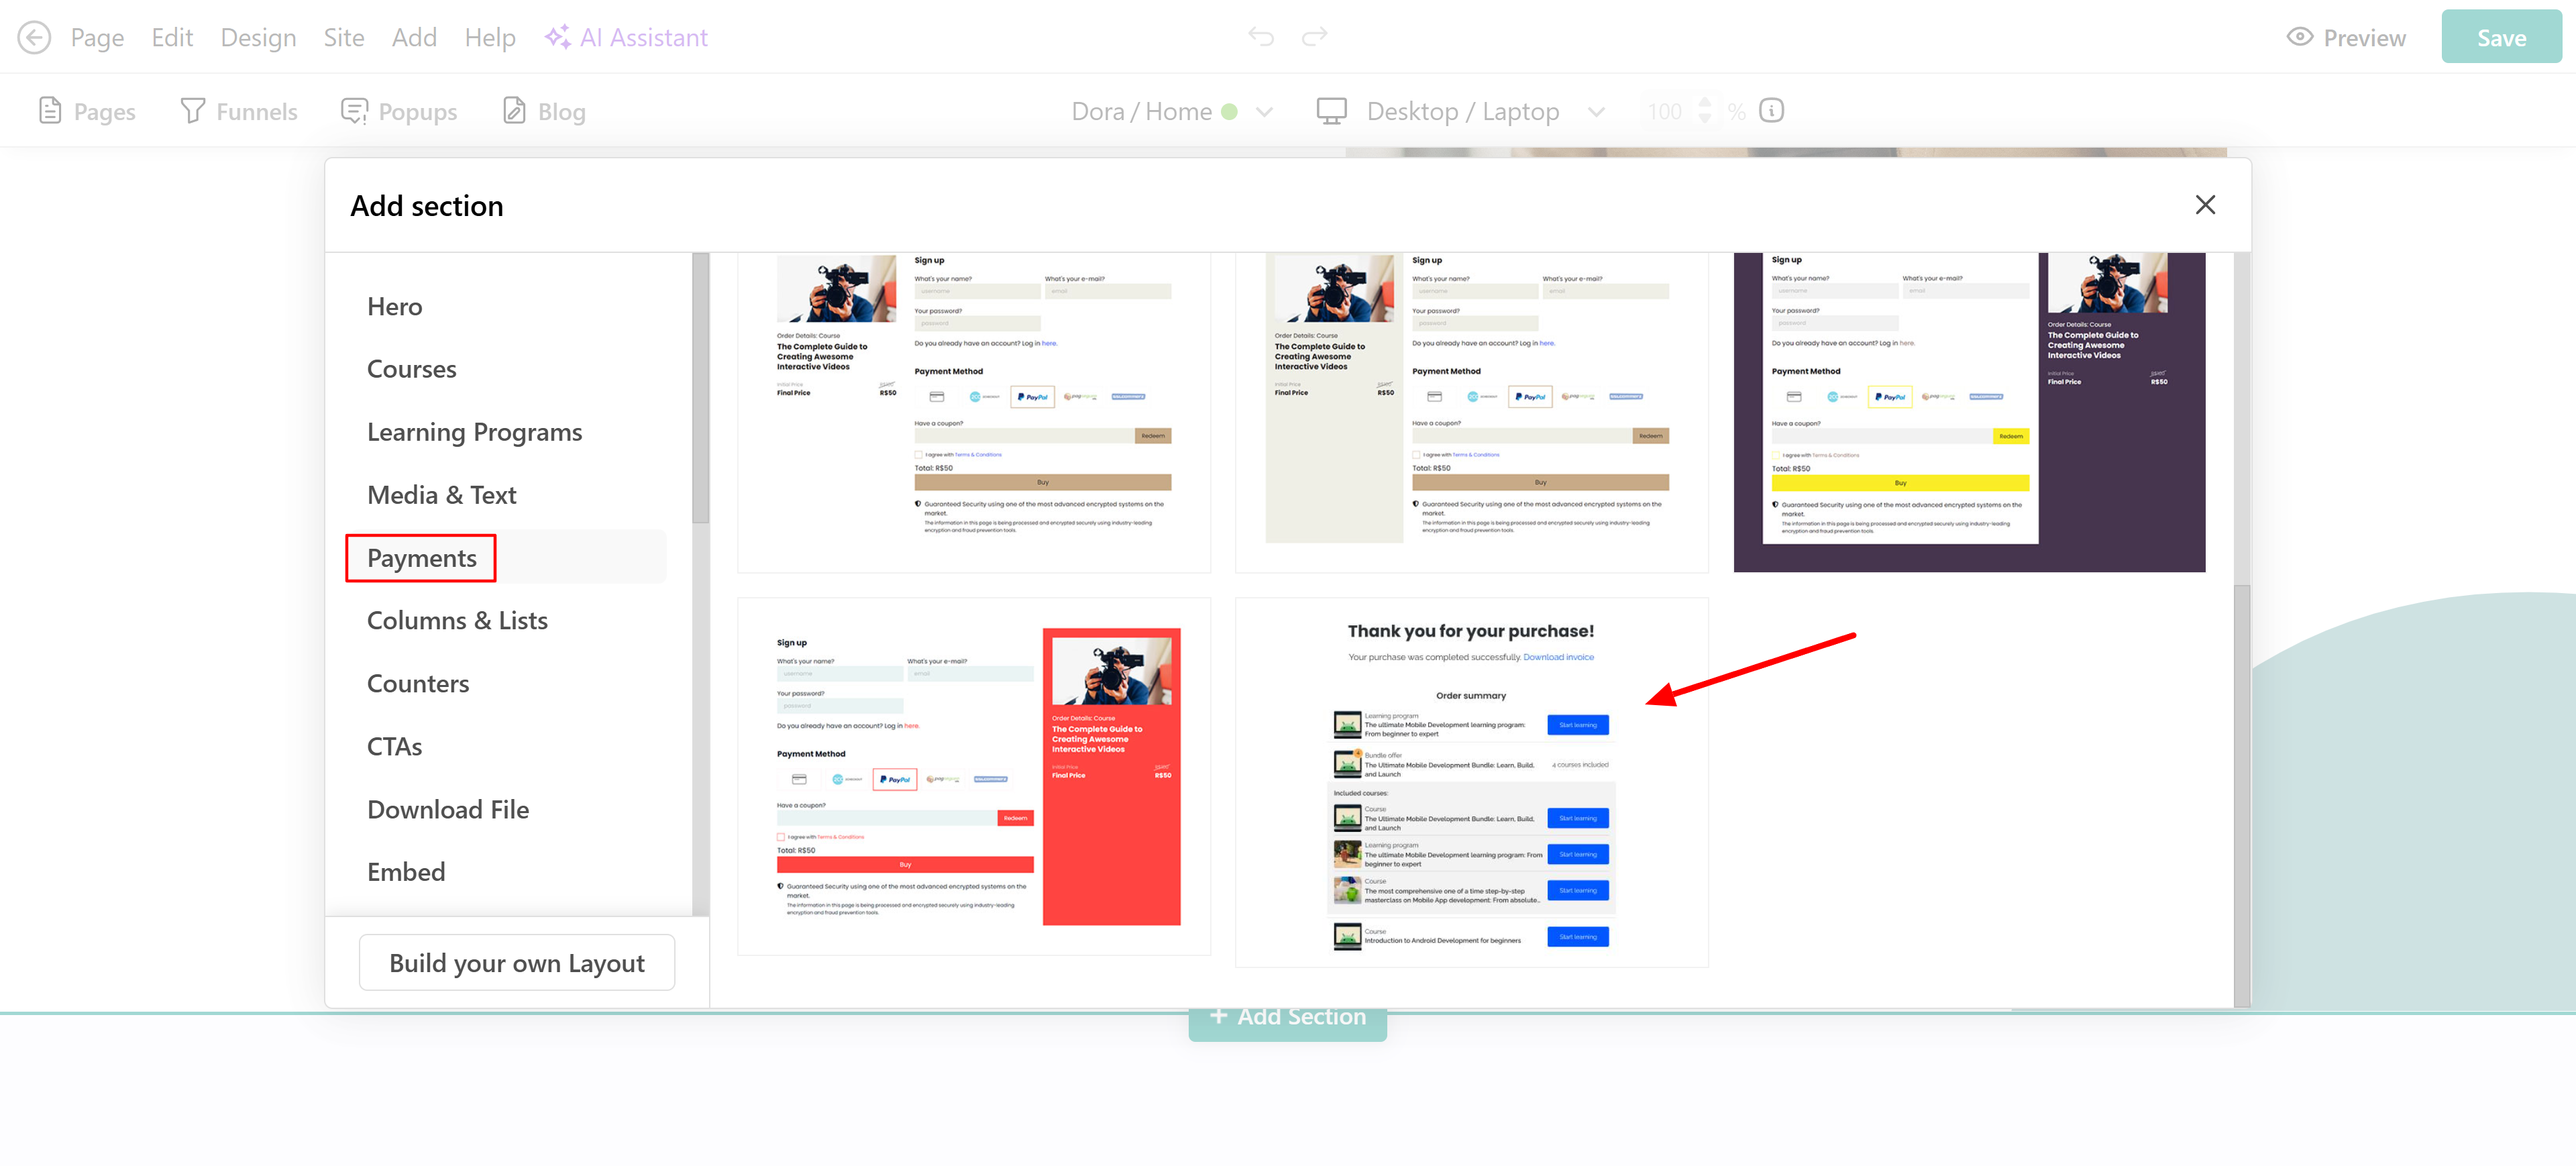
2. Once in the authoring mode of this page, click +Add section → Payments to add a thank you section.
3. By default, the Start Learning button redirects users to the Course/ Program Player page of the purchased product.
You might wish to promote your other products, with or without a discount, so that you can upsell or promote your other courses as well. You can add a payment section and even apply a coupon visible only to this payment section, so that you can promote specific material in your school.
Create multiple Thank You Pages
You may have a strategy of promoting a different Thank You page for each product with different material (available in our Learning Center plans or higher). To create a new page, check the information provided here.
After creating your page, go to E-commerce → Cart & Checkout Flow → After Purchase. There, you can choose and customize the page users will see once their payment is complete. For more details on the available redirection options, click here.
