When creating and managing your Learning Programs in LearnWorlds, setting the right pricing model is an important step. This guide will walk you through how Learning Program pricing works and what you need to know about subscription plans and one-off payments.
Choosing a pricing model
When you first create a Learning Program, you will be asked to choose a pricing option:
- Subscription: Learners pay a recurring fee (monthly, yearly, etc.) to access the Learning Program. You can use simple or tiered subscriptions.
- One-off Payment: Learners pay a single fee to enroll in the Learning Program.
- Free: Users will access the whole content of the program for free.

- The Pricing model (subscription or one-off payment) you select when creating a Learning program cannot be changed after the program is created. However, you can change it from free to one-off and vice versa.
- If you are setting up a subscription-based Learning Program, you must have a Stripe account connected to your LearnWorlds school to process recurring payments.
While you cannot change the pricing model after a Learning Program has been created, you can edit the actual price for your products.
Here's how to edit the price for your programs:
- Find and select the Learning Program you want to edit.
- Go to the Pricing section.
- Update the price field with the new amount.
- Click Save to apply the changes.

If you are using tiered subscriptions, you can create and manage your tiers from the Pricing tab. You can also edit the price of any existing tier.
Show a compare-at price
For one-off learning programs, you have the option to display a Compare at price alongside your program’s current price. This is useful for showing discounts or emphasizing the value of bundled content.
To use this feature:
1. Enable the Show a compare at price setting.
2. Choose how to define the Compare at price:
- Automatically calculate – The price will be calculated based on the total price of all courses included in the learning program.
- Custom value – Manually enter a specific compare-at price to display.

This is a great way to highlight savings and encourage more enrollments by showing the value of the full program versus individual course prices.Trial period
For subscription-based learning programs, you can add a trial period. This setting can be enabled or disabled, and you can choose the number of trial days to offer. Find more information about subscription plans here.
Extended enroll button
When editing the pricing or access settings of your Learning Program, you can enable the Extended Enroll Button. This option shows users all the available payment options for this specific program.

Payment plans
Instead of paying the full amount, your customers can buy your learning program in two or more installments. You may even set an upfront payment. You can find more information about this here.
Related offers
Another important setting is the creation of offers. In this tab, you can find all related offers.
To create a new offer, click on Manage offers, and you'll be redirected to the dedicated offers page. You can find more information on how to set up offers here.
Related recommendations
Here you can find all products recommended alongside this product. Click Manage order bumps or Configure recommendations to open the Recommendations tab, where you can create new order bumps, edit existing ones, or manage how product recommendations work across your school.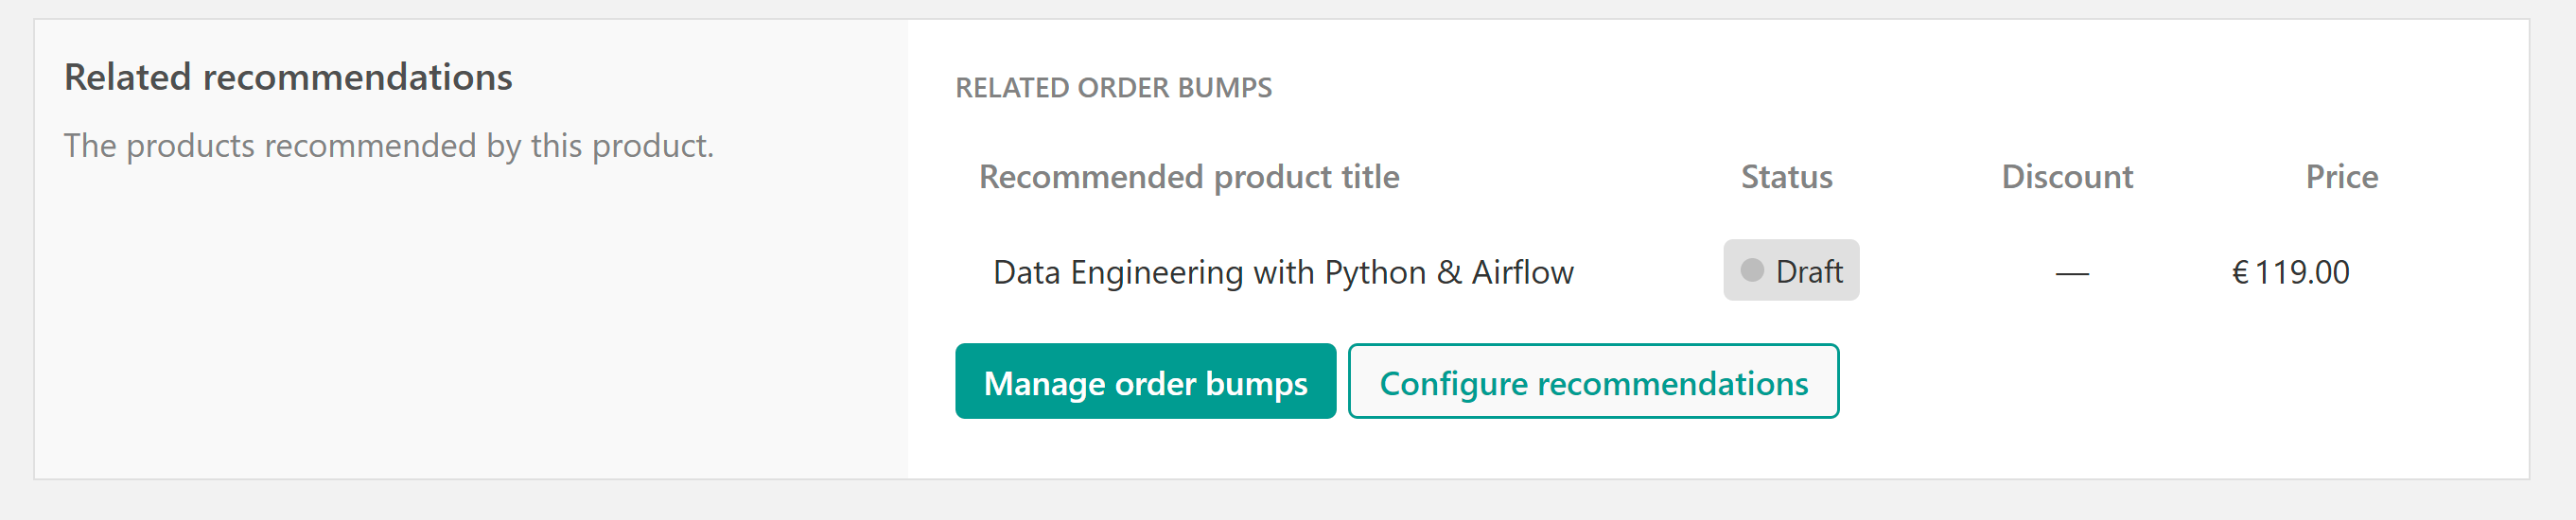
Best practices when setting pricing
- Understand Your Audience: Consider what pricing your learners will find reasonable and competitive.
- Communicate Clearly: Make sure your program pages clearly explain whether learners are subscribing or paying a one-time fee.
- Plan for the Future: Since you can't switch from a subscription to a one-off payment later, think carefully about how you plan to deliver ongoing value (for subscriptions) or comprehensive value (for one-time payments).