The Qualification Form helps you gather important information from users right after they sign up, before they fully access your LearnWorlds school. Whether you're collecting prequalification data, segmenting your audience, or personalizing user journeys, this form gives you a smart head start.
In this guide, you’ll learn how to:
- Set up the Qualification Form
- Customize its appearance and questions
- Decide who sees it and when
- View and manage user responses
Why Use a Qualification Form?
Using a Qualification Form allows you to:
- Understand your audience’s needs from the very beginning
- Segment users based on their responses
- Prioritize leads for sales or support follow-up
- Customize learning paths or product recommendations
And the best part? It all happens automatically right after sign-up.
Set up the Qualification Form
Navigate to Marketing → Qualification Form → Setup. In the Setup tab, you can:

1. Enable qualification form: Activate the Qualification Form feature.
2. Edit the qualification questions: You can make a Qualification Form in minutes using the responsive layout and people-friendly design. You can add, delete, or update the questions on the Qualification Form:
A. Set up the Starting & Ending Screen.
B. Add, import, and further edit different types of questions.
C. Set up further general design settings for your questions.
D. Preview the form.
You can find more information about how to customize your forms here.

 While all forms come by default with a Starting and Ending screen, the Starting screen can be removed; however, the Ending screen cannot.
3. Tag users: You have the option to add tags to users who submit the Qualification Form.

You can also tag users based on the tagging settings you will select within the Form Editor while editing the Form's questions. For example, you can tag users based on a specific answer they will submit in a specific Form Question.
Multiple-choice and Rating & Ranking type questions have tagging options. 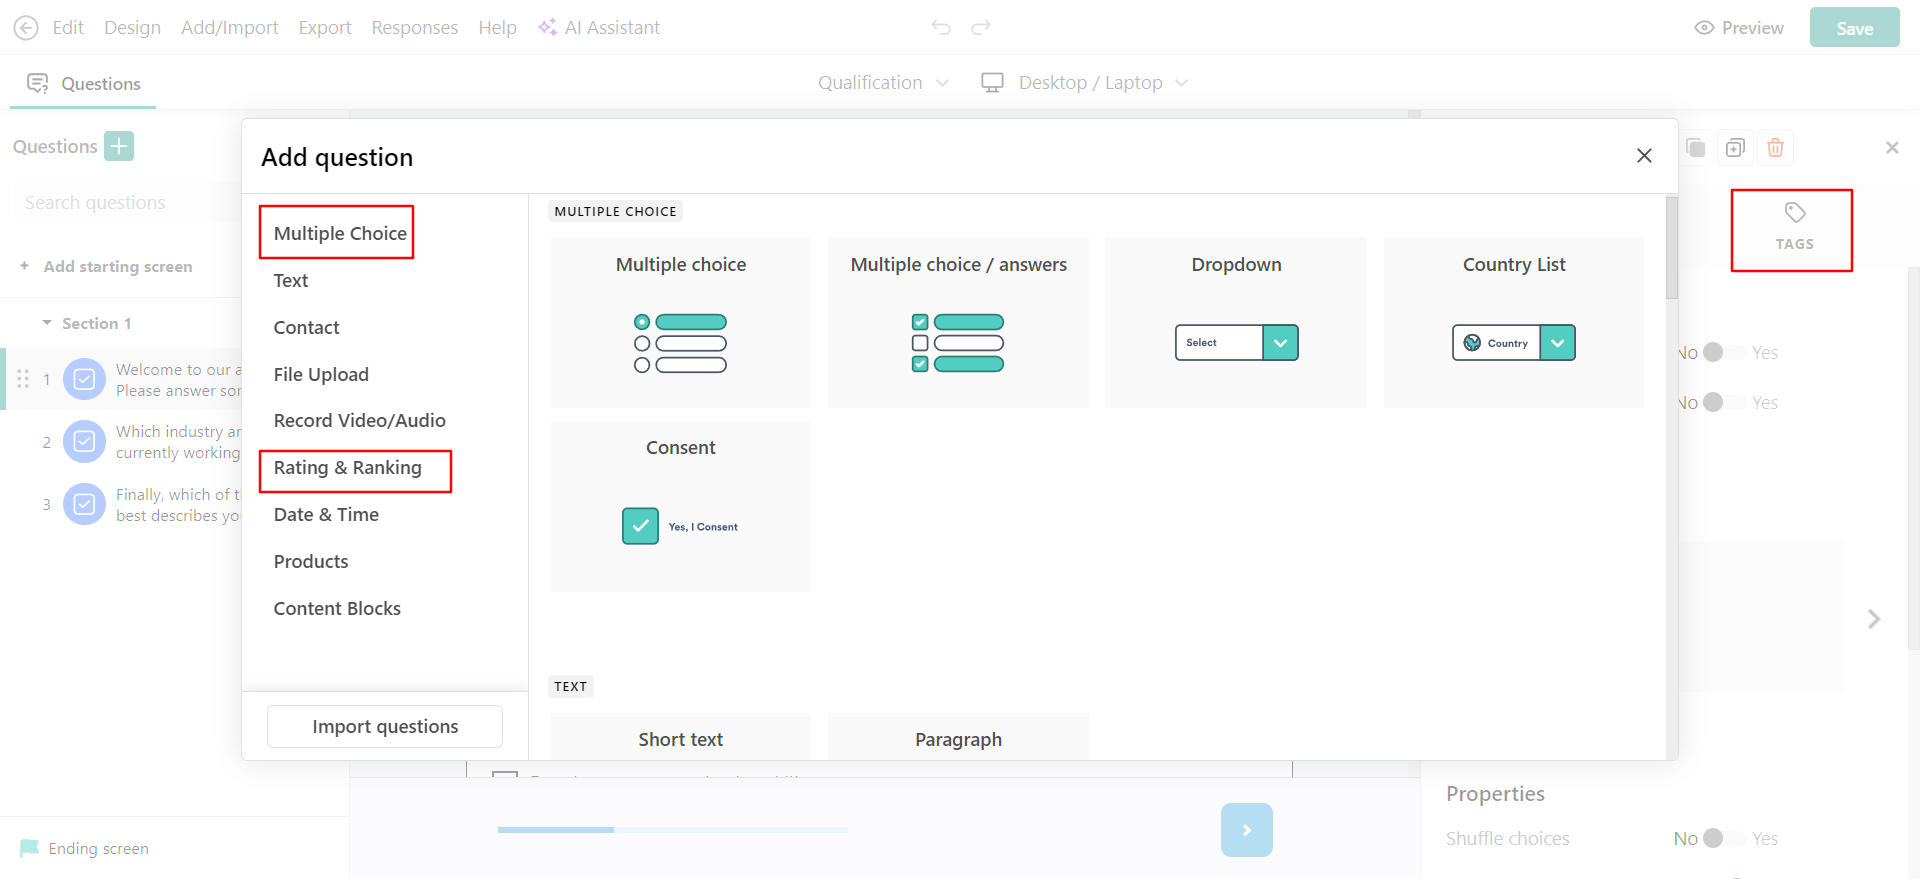
4. Who to show the qualification form to: Choose if you will show the Qualification Form:
a. Only to new users (who sign up after you have activated the Qualification Form).
b. All users that haven't completed the qualification form
5. Where to show the qualification form: You might not want to show the Qualification Form after signup or login if a user lands on payment pages or the course player. Choose:
a. Exclude payment pages.
Important Note: If you activate it, the Qualification Form won't show on the school's system Payment Page or any page that contains a 1-click sales funnel.
b. Exclude the Course Player page.
6. Users can skip the qualification form: Choose whether users can skip the Qualification Form. If enabled, they can skip the Qualification Form if they want to & it will not appear to them again. Otherwise, leave it OFF and make the Qualification Form's submission mandatory.
Qualification Form Appearance
In the Appearance tab, you can tailor the appearance of the Qualification Form. Choose between the Dialog, Fullscreen, or Sidebar view.
Click on the Edit Layout button. Here, you can check other attributes like the width & height of the form. You can also select if you want the form to close automatically or not after submission. 
If the form is selected to Close Automatically, then the ending screen in the Form Editor will not be applied. Users will see only the Submission Received Message you will set up. This way, you skip the ending screen and have the Qualification Form close automatically right after users submit their responses & the submission received message will show up at the bottom right of their screen.

Qualification Form Responses
In the Responses tab, you can see the users' responses, filter, export, and delete them if you wish. You can check each user's responses by clicking on their profile and checking their User Card.

There are multiple ways to review the Qualification Form Responses:
a. While editing the questions in the Setup tab of the Qualification form.
b. In the User Card accessed via the Responses tab of the Qualification form.
c. In the User Management Page (see below). Navigate to Users → All Users and find the User Card Details. In the Feedback tab, you can find the user's Qualification Form submitted answers.

d. In the User Management Page, if you export the data of your users.
The Qualification Form data also shows up on Zapier responses that involve user info.
The Qualification Form feature is not available in the Mobile Apps.