LearnWorlds allows administrators to perform bulk actions, making user management more efficient. With the bulk import feature, you can quickly add multiple users at once, simplifying onboarding, migration, and course enrollment
Examples/Use Cases
- Onboarding a large group of students into a course at the same time.
- Migrating users from another platform.
- Adding users who have signed up through an external registration form.
- Uploading users based on a company list for corporate training.
- Quickly adding team members with different roles for school management.
Bulk Import
To Bulk Import users in your school:
1. Navigate to Users → All Users.
2. Hover over Bulk actions, and click on Import users.

3. Prepare your .xls or .xlsx file. Each Bulk action option offers a dynamic and default template as an Excel file. You can download it, add the data, and re-upload it. The template file contains
- 2 mandatory columns: Username/ First & Last name, Email, and
- 2 optional columns: Tags and Password.
If you have created Custom fields, the respective columns will automatically appear in your Excel file. Το add values to the custom fields on your import files, ensure that:
- Date/Birthdate field: The Date format must be MM/DD/YYYY
- Checkbox field: Checkbox values can be 1 (string or number) or yes, meaning the checkbox is checked. Anything else is considered false (checkbox unchecked)
- Dropdown and Radio button fields: You can add any of the options you have added as possible options for the signup field, or leave them empty.
If the Sign-up field is required, this will be reflected in your Excel file (Required). If the fields are required, you have activated Sign up validation rules in the side form (step 6), and if you don't add a value, the user will not be imported. You need to add value for the import to be successful.
Here is an example of the file:

4. Specify tags that will be added to all users included in the file. If you have already added these tags to the file, skip this step.
 If you wish to add more than one tag, add the semicolon symbol (;) between the tags. The tag column is optional, so even if you do not wish to add tags, ensure that the column is not deleted (this action will result in an upload error).
5. Select if you want to update the user's details if the user already exists.
6. Select if you want to enable the validation rules of custom sign-up fields. If you haven't activated validation rules for your custom sign-up fields, remember to add a value, leave the respective field empty (if not required), or obey the validation rules (if required) in the file created.
7. Choose if you want to send a welcome email to the imported users.
8. Add a Name for Users Actions log to identify the progress of your Bulk action.
9. Click on Import users.

Notification Email
During the import process, you can choose to send a Welcome Email to new users. This triggers the automated email notification: When a learner is added/ imported.
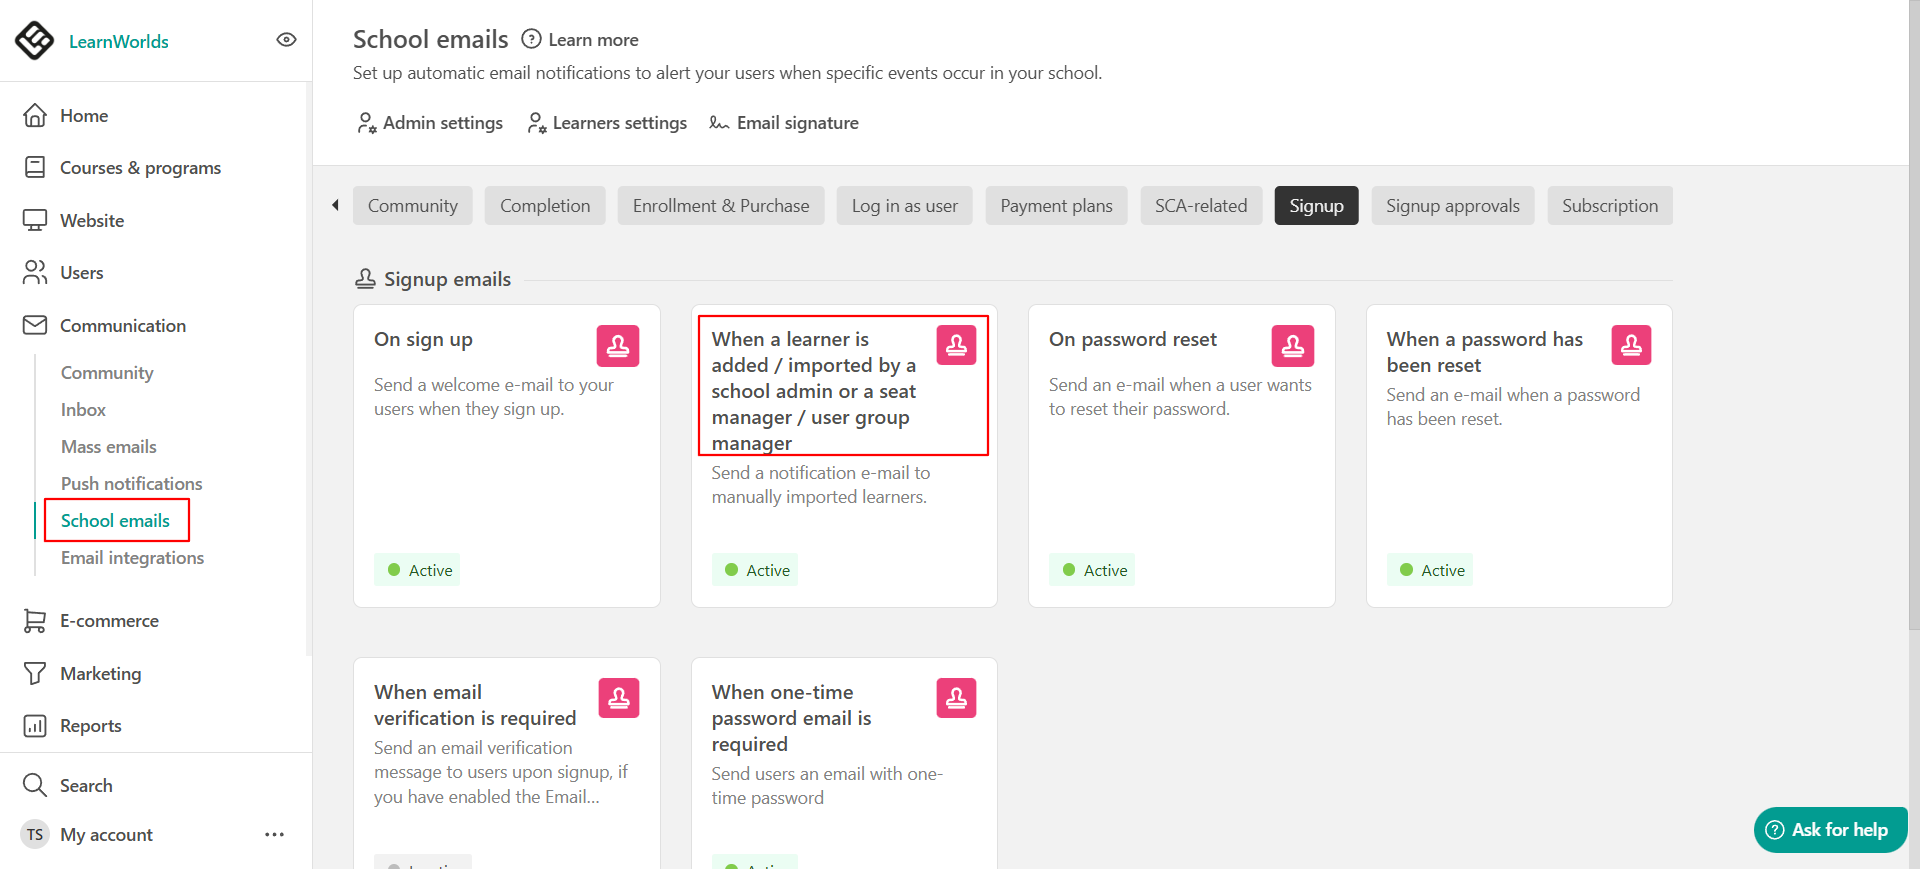
You can check how to edit the Registration Emails of your school here.
- To find the record of your Bulk actions, navigate to Report Center → Users Action Log. You can find more about the Users Action Log here.
- A bulk file can include up to 10.000 rows. If you need to add more users, make sure to use separate files.
- When downloading the default template, it's important not to make any changes to the Headers row. The titles should remain the same and not be reordered, renamed, or added. Otherwise, the import will not be completed.
- Make sure to clear the formatting when copy-pasting information in your Excel file, such as links ιn emails or rich formatting in font styles. Otherwise, the import will not be completed.in
- When a learner is imported by the admin email link is valid for 1 month.