The Program Catalogue section allows you to display your available learning programs in a stylish and functional way. It works like a storefront for your programs; visitors can browse, compare, and click through to learn more or enroll.
You can place this section on any editable page of your site, from your homepage to custom sales pages, providing full flexibility in how you promote your offerings.
In this article, we will learn how to add and customize the program catalogue section.
Add the program catalogue section
- Navigate to Website → Design → Edit Website.
- Open any page you want to customize using the Page Manager.
- Click + Add Section.
- In the sidebar, go to Learning Programs → Programs Catalogue.
- Choose one of the Program Catalogue templates and click to add it to your page.
- Click Save.

 You can choose between a collapsed view that shows all learning programs
 or an expanded view that displays the included courses under each program.
Edit and customize program cards
To edit the section, you should hover over it and click Edit learning program cards. The right-hand panel will open with full editing options.
Catalog configuration
Choose which programs appear in the catalogue:
- All programs – Show every available learning program.
- My learning programs – Show only programs the user is enrolled in (for logged-in users).
- Not enrolled – Show only programs the user hasn’t joined yet (great for upselling).
- Custom list – Select specific programs to show manually.
You can also customize the initial catalogue view; with this setting, you decide which courses appear as the default view when users access the catalogue.
-These options can be combined with visibility rules to personalize the experience based on user roles, tags, or enrollment status.Card layout
Choose from the available layouts. You can check more information about the learning program cards here. 
Card behavior: When clicked
You can choose a different setting (redirection) for not-enrolled and enrolled users when they click on the program card.
Based on their enrollment status, decide the rules for the redirection, whether they will see the program player, payment section, or program overview when they click on the program card.
With this setting, you can customize different flows for enrolled and non-enrolled users. For instance, you might direct non-enrolled users to the payment page while sending enrolled users directly to the course player.
If you decide to send users directly to the checkout page, you can also include a coupon code in the link. This way, when users click to purchase and are redirected to the payment page, the coupon will be automatically applied.
For paid programs, directing to checkout can help speed up conversions.Card appearance
Under Card Appearance, you can control:
- Whether to show price
- Whether to display a ribbon (like “Best Seller” or discounts)
- Ribbon position (e.g., top right)

This allows you to fully align the card design with your brand look and tone.
Filters
Enable filters above the catalogue section to help users quickly find what they’re looking for. Enable the following options:
- Display filters – Toggle to show or hide the filters section.
- Filter by – Choose from:
- All programs
- My learning programs
- Not enrolled

These filters appear above the card section and allow users to refine results based on their enrollment status.
Enroll button
You can customize the Enroll button by changing the type, size, or color. Here, you can also define how it behaves. When clicked, it can either direct users straight to the payment page (automatic) or follow the action set in the course card’s “When clicked” setting.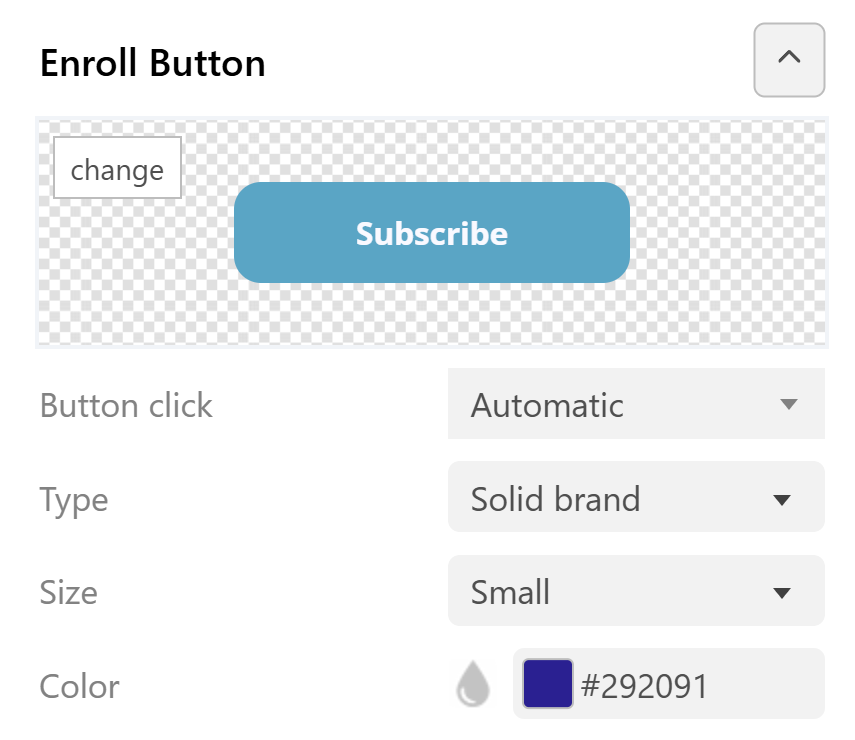
Using the program catalogue for subscriptions
The Program Catalogue can be used to promote subscription-based Learning Programs by combining custom lists, card redirections, and pricing visibility. Find more information for this case here.