Buttons are valuable aids for users to navigate smoothly throughout your platform, directing them to the relevant pages and facilitating the desired user flow. You can add a button as a widget to any section of your pages. To add a Buttons widget:
1. Go to Website → Design → Edit Website.
2. Choose the page you want to edit from the Pages Manager.
3. Click on the + icon/+Add Widget to add one of our available Button Widgets.
Click on Edit Buttons to edit the settings of the buttons:
- Button: You can change the button's color, linked to the settings of your Theme Explorer. You can also set the Type of buttons and the Size. Both of these options are linked to the settings you had previously set up on Theme Explorer.

- Text Content: Change the text of the button. Click directly on the button to update the text or on your right under text content.

- Width: Choose if you wish to enable the Full-width option.
- Box Appearance: Change the box's color.
- Show Icon: Enable the icon option and choose the position of the icon.
- Box Shadow: Edit the box's shadow.

- On hover: In the actions tab, you can change the color of the button when the mouse hovers over.

Don’t forget to add on-click actions to your buttons, allowing users to navigate to different sections or pages. For more details on setting up on-click actions, click here.
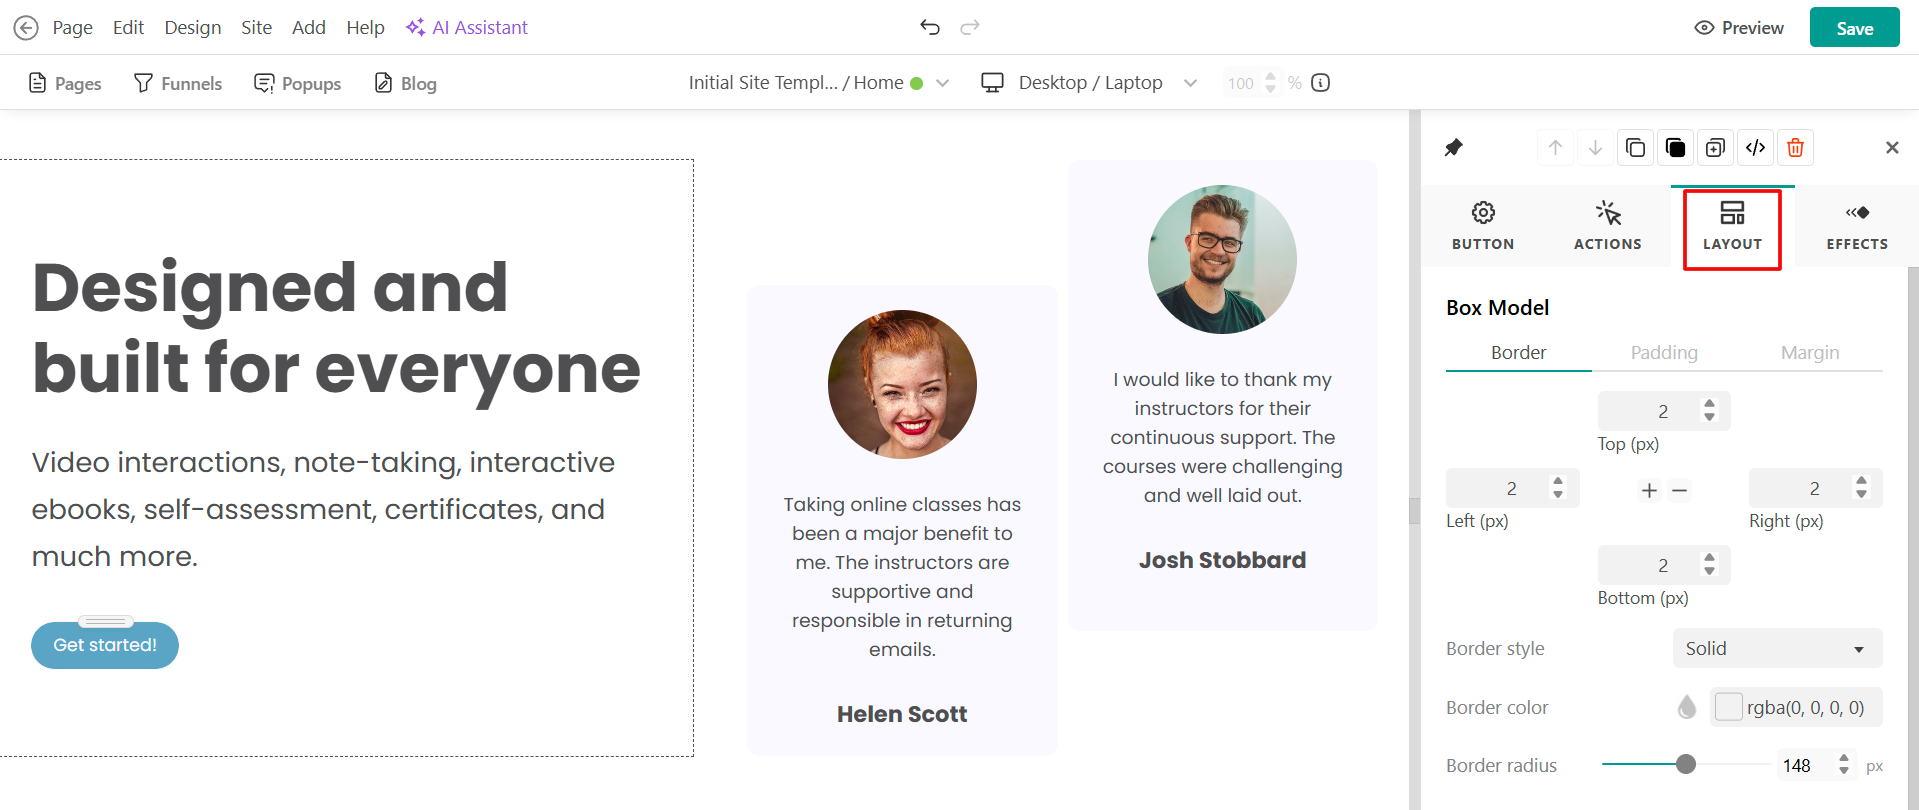
Under the Layout tab, you can customize the box model, adjusting details such as margin and border, as well as border color and border radius, to make the button rounded or rectangular.
Automatic Enrollment Buttons (Buttons for Enrollment widget)
Automatic enrollment buttons help you set up the Payment flow and Course navigation flow. You can add an automatic enrollment button for your created Courses, Programs, or Subscriptions, by adding a Buttons for Enrollment widget in any page and section you wish.  After adding the button, you are required to select the desired course or program.
